
When it comes to creating graphic documents in digital or paper format such as brochures, billboards, business cards, and more, Photoshop offers us a large number of fonts to give free rein to our imagination. However, if we are looking for a very specific font and we can’t find it among the different options offered by the application, we can download it from the internet and add the font to Photoshop.
Before knowing how we can add fonts to Photoshop, we need to know how fonts work in Windows, which, by the way, is very similar to that of other operating systems.
How fonts work in Windows
When we create a document using one of the almost 200 fonts natively available in Windows, the document that is created (text, spreadsheet, presentation, layered image file, among others) stores the text inside associated with a format font, but without the actual font design. When we open it, it automatically reads the font that has been used to create the document and formats it correctly.
That is to say, that the documents do not save the text with the design with which it is displayed on the screen after selecting the font that we have used. When it opens, it uses the used font that is stored in the system to format it. What if the source is not available? If the font is not available, the application will notify us by means of an error message and will invite us to use another font that, in general, has nothing to do with the design we have used.

All the applications that allow us to write any type of text or display it (such as files in PDF format and web pages, allow us to do so using all the fonts that Windows includes in the system. Generally, with very few exceptions, very few applications include fonts other than Windows fonts If the font used to create a web page, PDF document, or Photoshop file is not available on the system, the font set natively by the application will automatically be used , if it does not ask us previously about which letter we want to use when not finding the original.
It is important to know how fonts work in Windows, if we want to use a font that is not available natively. If we use a font that is not natively available in Windows, if we want to share the text document with other people, we must attach the font used, otherwise the text will not be formatted correctly.
In the case of Photoshop, the same thing happens, as long as we want to share the original file, that is, the file in .PSD format that we have created. If we convert the image to .JPG or .PNG format, it is not necessary to include the source to be able to open the document, since this format does not include layers where the information of the sources used and other additional elements are crenellated. It is, we could say, the graphic result of the Photoshop file, a file where all the layers that are part of the file are shown without the possibility of editing them.
How to Add New Fonts in Photoshop
As we have explained in the previous section, to add fonts to Photoshop, all we have to do is install it in Windows. Once installed in Windows, we will be able to use these fonts with any application that we have installed on the computer or that we install in the future.
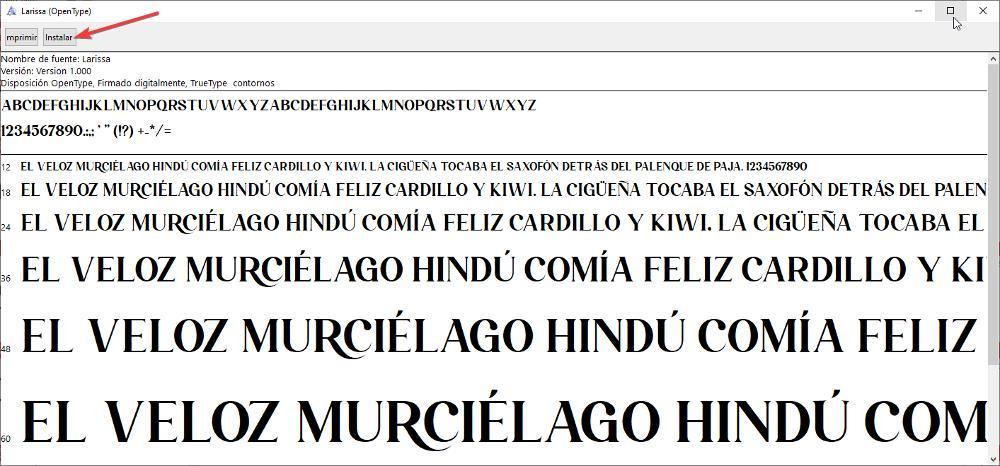
The process to install a font in Windows is very simple. The first thing we must do is make sure that it is a compatible source. If it is, the image that represents the file will be a thumbnail of the font. If it does not show a thumbnail of the font, it is probably because we have downloaded a compressed file where the font is located, so the first thing to do is unzip it.
Once we have the font file that we want to install, we have two methods to add it as a font to Windows. The first is the simplest of all since we only have to click twice on the file to display a window where it invites us to install the font on the computer. The second method is to copy the font directly to the Fonts directory found inside the Windows directory. This method is ideal and much faster if we want to install several fonts in Windows, thus avoiding having to go one by one.
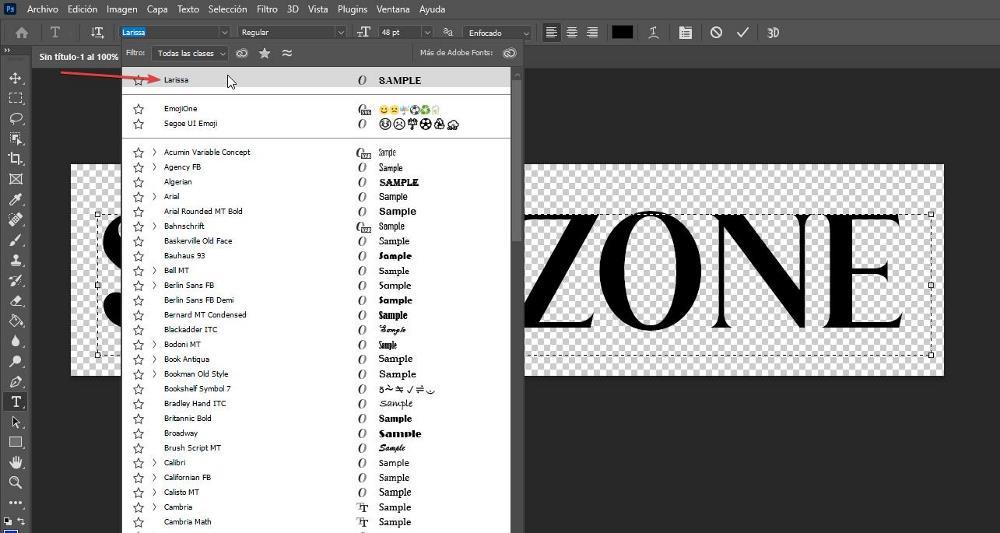
Regardless of the method we use, the result will be the same. Once we have installed the font that we want to use in Photoshop, we can open the application and search for it by name to use it in the document that we create.
How to remove fonts from Photoshop
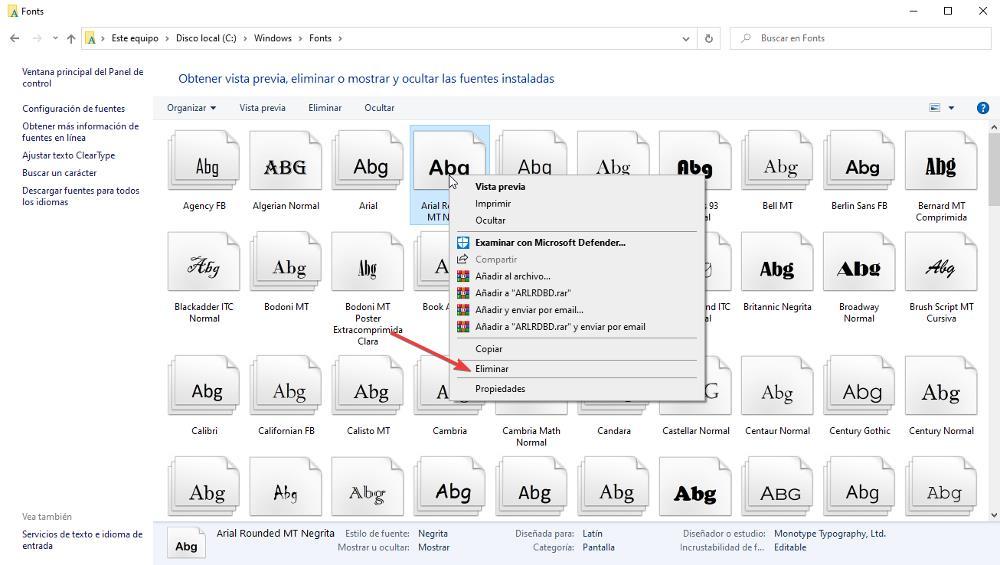
To remove a font from Photoshop, the first thing we need to know is that by removing it from Photoshop, we are also going to remove it from Windows, since it is available to all applications installed on the computer. To delete a source, the first thing we must do is access the file explorer and go to the Windows directory. Inside the Windows directory, click on Fonts.
A new window will automatically open with a preview of the installed fonts. To delete the one that we no longer want to use in Photoshop, and incidentally in Windows, we just have to select and with the right mouse button, click on the source and select the Delete option. After that time, this font will no longer be available for all documents in which it was used.
Identify the font of an image
When it comes to identifying a font whose name we are completely unaware of, we have several options that will help us in this task.
photoshop
If we want to use a specific font, but we can’t find it in Photoshop with the naked eye, we can use a function available in the application that allows us to identify, based on an image, the font in order to use it. This function is found within the Text – Font Matching menu, a function that we must use with the image of the font that we want to recognize in Photoshop.
Next, Photoshop will invite us to select the font option between Latin and Japanese. In our case, we select Latino and wait a few seconds for Photoshop to show us the fonts that are most similar to the image on the screen.
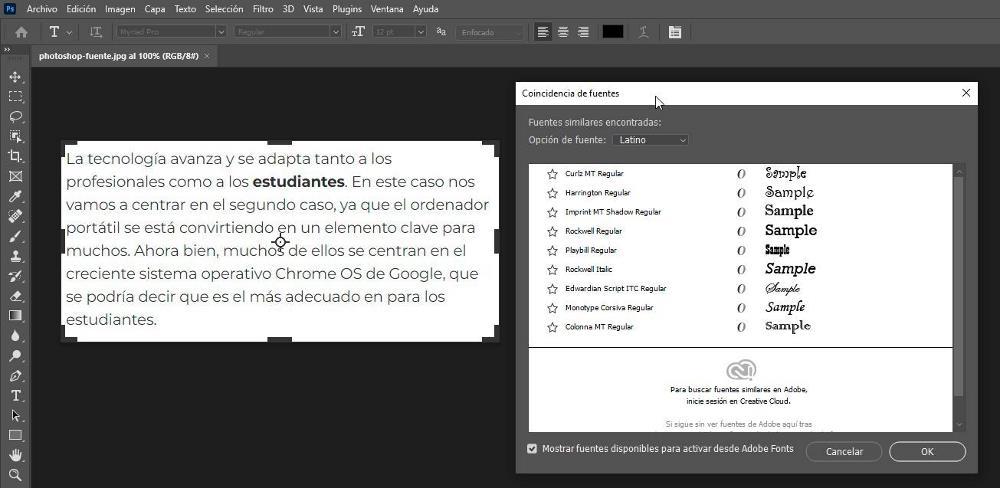
With this function we have limited the number of options among which we can search for the name of the font that is shown in the image. But, if none of the fonts displayed match the one we are looking for, we can log in to Adobe Creative Cloud and have the application search the more than 20,000 fonts that it makes available to all customers of this subscription through Adobe Fonts .
google fonts
Google Fonts is an extension for Chrome, also available via the web, with which we will be able to more easily identify the name of the font that we need at all times. This application automatically recognizes the font to show us its name. If it does not succeed, it shows us the most similar fonts and invites us to write the text of the image to check if any of the solutions it proposes is what we are looking for. This extension is available in the Chrome Web Store and we can install it in any Chromium-based browser, be it Edge, Brave, Vivaldi, Opera, and, of course, Chrome.
