
Currently, there are many options for those who want to build their own website. Lately some users prefer to create a free website with Google Sites; However, we cannot ignore WordPress, which is a content management system, a very famous computer tool that allows you to create any type of web page. As more than 30% of the commercial web pages in the world are made with this software, we present this post where you will learn how to install WordPress in Spanish step by step in 5 minutes.
Install WordPress in Spanish
It is important to clarify some things, it is possible to make or create a website with WordPress for free. You simply have to create a user account similar to how you do with an email and start designing, and then publish under a subdomain such as subdomain.wordpress.com.
The above method has design limitations and is dependent on third parties. But it is possible to use software that you install and download for free from wordpress.org, with which you can create websites without any limitations, controlling and customizing all aspects of your project.
There are several environments in which WordPress can be installed, so we will focus on one: manual installation on a hosting server (when hosting services have automatic installers, it is even easier). With this idea in mind, take note and let’s start describing the steps one by one. You can also install WordPress locally with DesktopServer, which is a different process.
Steps to install WordPress in Spanish on a hosting server
A hosting server is a service that provides users with a system to store the information they want to present on a web page. The following are the steps to install WordPress on your preferred hosting server.
First step: Having chosen and contracted a hosting and domain service.
There are many web hosting companies that offer attractive features for you to host your pages. Some even have options to install WordPress in Spanish using automatic installers.
When you hire the hosting, you can also have the internet domain under which the website is published. If you already had it contracted with another company, the hosting provider’s support will tell you how to configure the domain to point to it.
The hosting company will ask you for information that you must fill in, such as URL, language, administrator name, password, website title, etc.
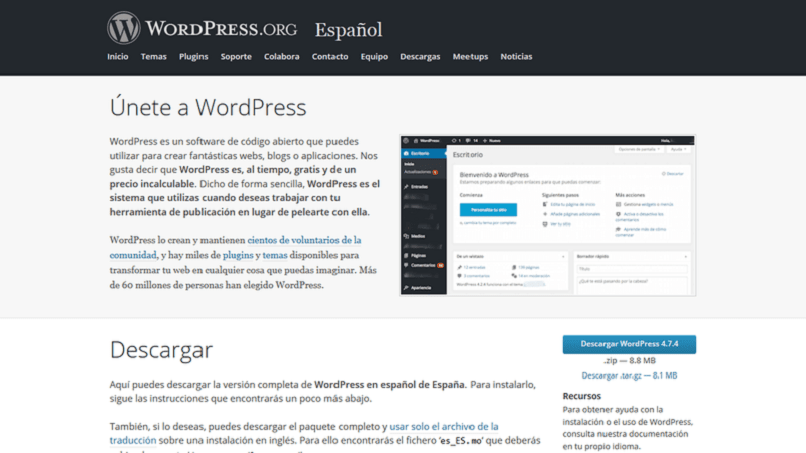
Second step: Download WordPress in Spanish from the official website WordPress.org
Enter the site es.wordpress.org and download the latest version of WordPress to your computer. This file will be in .zip format, so you will need to unzip it. The result will be a folder called WordPress that will contain the files that we will upload to the hosting server.
Third step: Upload the installation files to the hosting account
The best way is by using an FTP client like File Zilla, Cyberduck or any other of your choice. This procedure is done through dialog boxes that guide you at all times and you will need the data provided by the contracted hosting service for FTP transfer.
The WordPress folder with all its content must be located inside the public_html folder of the hosting, leaving /public_html/WordPress.
Fourth step: Have the database created
All the information that is generated each time a visitor enters the website is stored in the database, hence its importance. With a database is enough for a site created with WordPress.
The databases are of type MySQL. Enter the control panel of the hosting service, in the sections called MySQL Databases and enter the information requested: MySQL database name, MySQL username and password.
Fifth step: Write the address of your domain in the web browser and finish the installation
In your browser you should type something like the following: http://yourdomain.com/wp-admin/install.php (or you may have typed www first) and you will see the following screen:
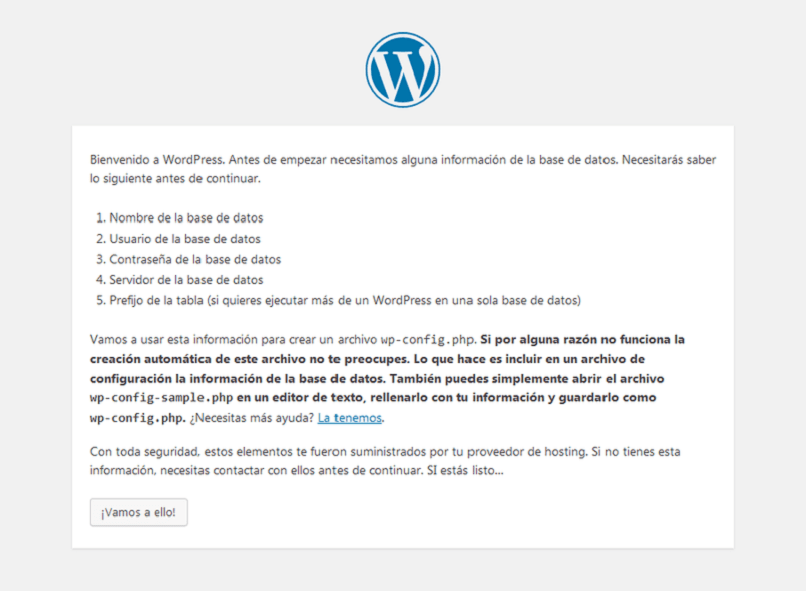
Then you finish by filling in the requested data such as: your language, your MySQL database credentials and MySQL hostname, the main information of the website and the administrator. Finally, we recommend installing Google Analytics in WordPress so that you can optimize your website in the future.
Congratulations, you have completed the WordPress installation. Hit the Login button to access the WP admin area and start editing your site with the most popular content management system.