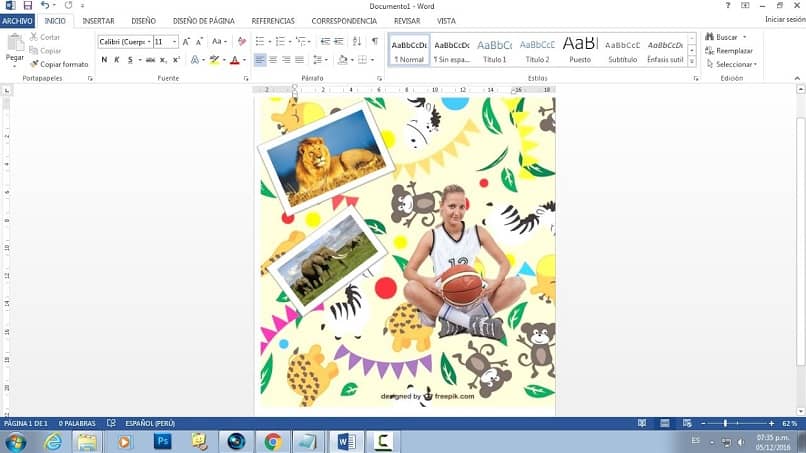
With the Office tool to edit files such as Word, you can create fabulous effects in your documents. And one of them is the superimposition of images and in this article we are going to reveal some tricks that are very easy to apply. So that you can in a few steps put an image on top of another in transparent Word without being noticed.
 There are many techniques that we can apply to our document to put one image on top of another and thus create great designs.
We can use the WordArt tool or if you prefer, through these techniques you can perfectly make a very original collage. And through this article you will learn how easy this task can be in a Word document.
The various functions that we can use in Word are simple, but they can have a certain level of complexity, when we want to add images to our document.
Of course many of these functions require the user to have previous skills with the application and you can at least know how to insert one or more images into a Word document.
How to put an image on top of another in transparent Word without being noticed
Next we are going to show you the steps that you must carry out to the letter so that you can put an image on top of another in transparent Word without being noticed.
To start we are going to open the Word 2010 program and in the upper menu we click on the file tab and choose the New option or if you prefer you can search for a saved document.
Once you have the document open, we go back to the top menu and click on the Insert tab. Various options will be displayed such as pages, tables, image, links, text, etc. In our case we are going to select the Images option that is in the group of illustrations. These images can easily be modified or edited.
Step you must take to put an image on top of another in transparent Word without being noticed
This action will show you the file search window on your PC and once you find the file that contains the image you must click on the Insert option.
The next step you must take is to create a new layer and to do this you go back to the top menu and select the Insert tab. Then you go directly to the Text Box option, which is located in the text group. And finally you must choose the Simple Text Box option.
The next step is to insert another image file into the text box, to do this we go to the Insert tab, to insert the image. Then we go to the Image option, the box will be displayed so that you can search your PC for the image file that you are going to put. Once you locate it and select it, you must click on the Insert option.
Next you need to click on the text box frame and this will make some kind of square and circular tabs appear around the frame.
This way you will be able to adjust the width and height of the text box around the image. Now to be able to adapt to the size of your image, you can position yourself with the mouse cursor in the corner and drag.
The next step is to put the text box on top of the other image, press and hold until you drag the image on top of the other.
And then you must release taking care that it is superimposed one on top of the other without seeing the details. And in this way you already know how to put an image on top of another in transparent Word without being noticed.
If you have followed the indications that we have offered you in this tutorial you will not have any problem to make this effect in your document. And without many complications and in a very simple way, you have learned how to put one image on top of another in transparent Word without being noticed.