
There is no doubt that the applications that we can find to carry out effects and editions of photographs are very varied. And each of them has perfect functions for every need, but we must talk about Photoshop. That each time offers us new functions so that you become the artist that you are. And next we will show you how to install brush presets in Photoshop.
These are some new brushes that the application has integrated so that the collection that you may have of these could be expanded and you have more options. As you should know, Photoshop is the tool par excellence used by professionals and those who are not. To be able to make adjustments, retouches, editions and apply a large number of digital effects of all kinds to your photographs.
There are many tools that you can use in this versatile application and in old posts we have shown you how to use them. And especially in what has to do with the correction tools and so you know how to use brushes and patches that are shown in this section of the application.
How to install brush presets in Photoshop
In Photoshop, one of the most used tools, thanks to its easy handling and versatility, is the brush. The app offers you a variety of them by default and you can easily install more brushes if you want. And thus expand the range of possibilities.
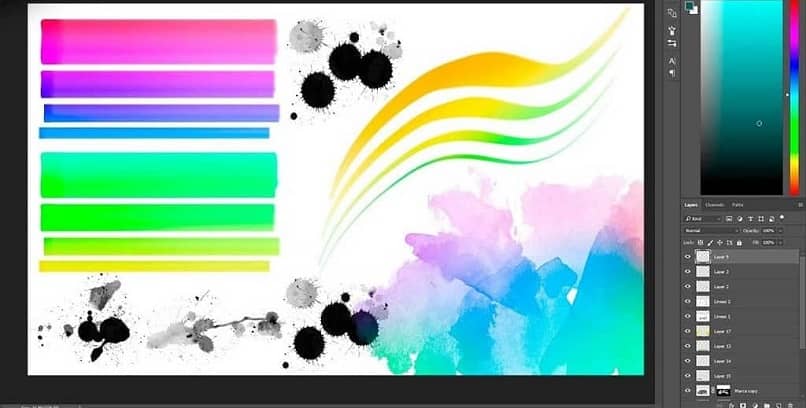
So you can have brushes of various sizes, thicknesses, opacity, texture, some that can work for a specific effect and another for other effects.
In short, how important it is that you know each one of them and give them the appropriate uses in your editions. So here we will explain how to install brush presets in Photoshop.
Steps to install brush settings
The first thing you should do is go to the brush library, you can do this by going to the side menu that is on the left or right side. Click on the icon and it will show the options and you can also see your current library of brushes. The next step is to click on the Brush Options and then the options panel will be displayed.
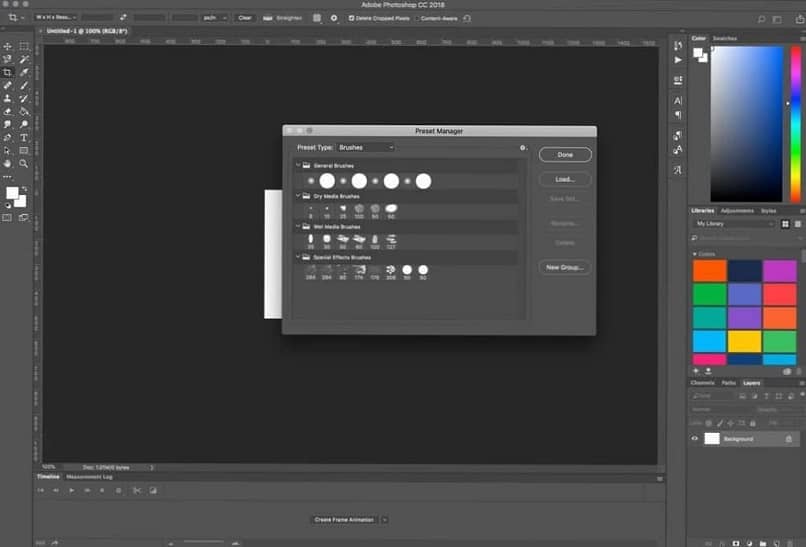
The next step is to find and select the Preset Mount Manager option and this way you will have access to the brush organization menu. From this panel you will organize all your brushes, the existing ones and the ones you just downloaded. If so, you should be on the right side where you will find the Upload option.
This action will generate a new window to be displayed on the screen, in it you will search for and select the file where the new brushes are located. When you find them you have to click on the Open option. Now you just have to wait for these brushes to be uploaded to your library and you can enjoy this new acquisition.
Now the next step is to go to the painting or editing tool click and then in the pop-up menu you are going to select the Brush option. The next step is to choose the brush and now you can modify the preset options of this brush. You can change its diameter, its hardness, etc. and then save the change you have made.
Photoshop allows you to make multiple changes to suit your style and needs, this includes creating custom color palettes that complement your brushes.
It is important that you know that this change is temporary and the next time you use this brush you will use its original settings and for these to be permanent, you must create a new setting.