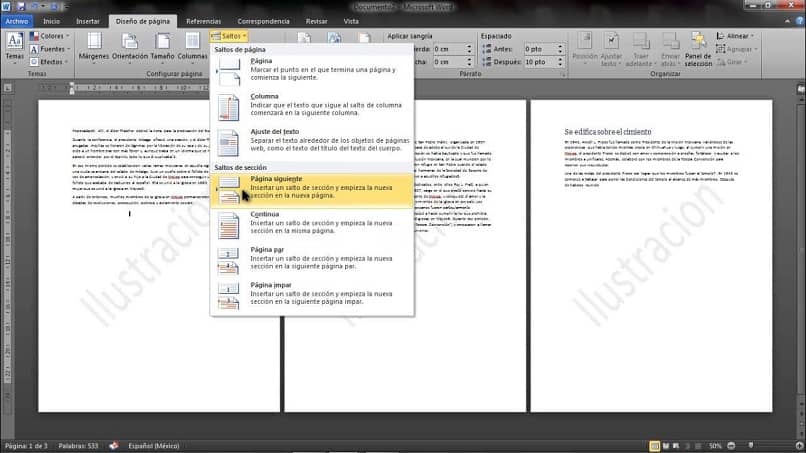
One of the ways that allows us, as authors or owners of a document, to protect it from being used without permission by other people, is undoubtedly the watermark. With this personal seal, the possibility of it being used by other users is rendered useless and Microsoft Office Word allows us to add it but also to eliminate it. And below we will show you how to remove watermark in Word on a single page easily.

If there is the possibility of creating a watermark with this tool, do not doubt that there is also a way to remove it without any problem. The only inconvenience that you may find is that you do not know how to do it and in this article we are going to teach you step by step so that you do not have any problem to achieve it.
You should know that the watermark is not more than a technique that is applied to documents, images or videos. Where an image or text is added to protect it and indicate that it is our property. It is important to keep our documents protected but if we want to remove these marks we can do it just like we would with a footnote.
How to remove watermark in Word on a single page easily
Adding this type of message to protect your documents, which is not the same as adding hidden texts, is a simple task to perform, so you must assume that removing it is too. And we can tell you that it is so, you just have to follow the simple steps that we are going to indicate below. When you have or have received a document that contains a watermark and we want to remove it, do the following.
First enter the Word application and find the file that contains the document with the watermark to be removed. The next step is to go to the top menu and select the Page Design tab. Then we must search and find the Page Background section and this is where we will locate the option that we will need, Watermark.
Click on this option to display a small box with the different options that allow you to include a watermark in the document. In the same way we will find at the bottom of this box the option to remove the watermark. Clicking on this option will automatically remove the watermark from your document.
And this includes all the pages that the document contains, in our opinion removing or removing the watermark from a document is easier and faster to do than to create it. To finish with the new parameters that we have included in the document, we just have to save the changes and our document will be free of watermarks.
Another way to remove watermark in Word on a single page
It is possible that by means of this option the watermark cannot be removed, since the document has a page header. In these cases we will have to intervene manually and we will do the following. We open the document and we position ourselves with the cursor on the upper part of the page and we click. This is to open the header area.
The next step is to put the cursor on the watermark, until the arrow pointing to the four directions is shown and in this way you can select the watermark. Once you have been able to achieve this, you will only have to press the DELETE key on the keyboard and the watermark will be removed without any problem.

The last step is to verify that the watermark has been removed from the document and then you must save the changes, so that the process of removing the watermark on that page is ready.
As you can see, we have given you two very simple and quick methods to solve the problem with the watermark.
In this way we come to the end of this tutorial that I explain to you without major complications how to remove the watermark in Word on a single page easily.


