These types of devices not only allow users to turn their old TV into one with access to a multitude of apps, but also leave us with many more possibilities. For example, if the sound from your TV has fallen short and you just bought a sound bar, rest assured. Today we will tell you the steps you can follow to synchronize your Fire TV Stick to the audio system.
As much as your television has become obsolete in terms of apps, there are always cheap alternatives to avoid having to buy a new state-of-the-art Smart TV. Among those options, surely you have already chosen to install a more advanced sound system and connect your Fire TV Stick.
Although, like any device, problems can always appear, such as desynchronization between sound and image. Something that nobody wants, especially when you want to enjoy the best possible viewing experience. Luckily, here we tell you the 5 steps to synchronize both devices and eliminate this error.
Goodbye to the problem between image and sound
For this method, we already made it clear that you do not need to install any type of third-party application on the Fire TV. And all thanks to the fact that you only have to make use of the different options offered by this small Amazon device in its settings.
First of all, before starting, check if both the Amazon Stick and the sound bar are working without problems. If the failure only appears when you are using both devices, then it is clearly a sync failure.
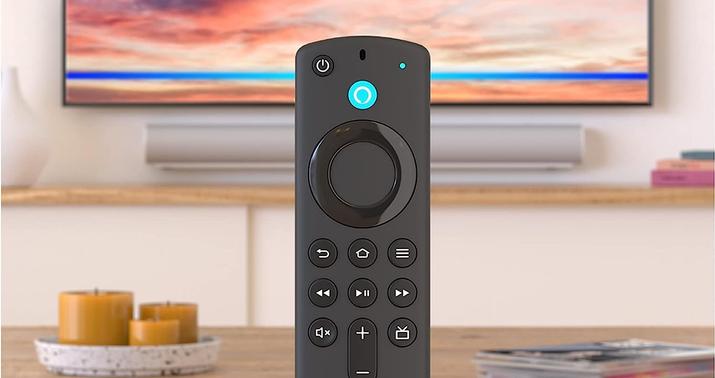
Now that you have verified that both devices work correctly, it is time to take action. Therefore, go to the home screen of the Amazon Fire TV Stick (with the Home button) and follow these 5 steps:
- Look for the ‘Settings’ box (gear-shaped icon that refers to settings) and enter that section.
- Once inside, this menu will show you different possibilities. Here you have to select the ‘Screen and sound’ tab, since it is precisely the section that will help us solve this problem.
- The next step consists solely of touching the ‘Audio’ tab and then heading towards the ‘AV Synchronize’ box.
- Within this particular menu, it will show you a bouncing ball and a line on the screen. If everything was correct in your house, the rebound would sound at the exact moment, but since it is not like that, you have to move it to the left or right depending on whether the audio is heard before or after. So you must square the ball and the bottom bar.
- Once you manage to square it, you will get the synchronization between image and audio to be correct. So you just have to apply the changes to correct the problem.
If in your case the synchronization error is still repeated, it means that you have not done it correctly. So we recommend that you try it until you find the perfect configuration with which you don’t have any more problems.


