Office Power Point is another of the versatile tools that we always use to make our slides. But if we are honest, we know very little about how to use it, get the most out of it and give our projects a professional touch.
We are not going to complicate ourselves too much, since you can find other tutorials such as making an organization chart and this will be explained in a very detailed way, so we are going to explain explicitly how to make an interactive index in Power Point in a few steps.

When we are working on making Power Point presentations, you may wonder why make indexes. In previous installments we explained how to do this, but how to make it interactive, it won’t be very complicated to do this, join us so you can learn a little more about the efficient use of this Office tool.
Having organized and being able to quickly access any page of our presentation seems to be very convenient. And with this we will avoid the waste of time involved in searching for some data or concept in our document. Yes, you will tell me but this program does not have this option to create indexes.
Well, let me tell you that it is possible, that’s why I invite you to continue reading and learn easy tricks to perform to achieve our goal. Unlike Word, which is possible to do this in a simple way and without having to complicate our lives. With Power Point, there is a way that will blow your mind with its simplicity.
How to make an interactive table of contents in Power Point
As in other articles, we are going to make the exception of telling you that to carry out these tricks, we have used Power Point 2016. Having clarified this, let’s begin with the explanation of the steps to follow.
The first thing we must take into account is to have made our presentation and choose any slide. We select and then we go to the Insert tab and then we go to Zoom. We make a clip and several options appear, we choose Summary Zoom and I go on to choose all those slides that I want to be in this summary.
I can choose the amount I want or choose them all, everything will depend on what you need in your project. After having made your choice, we go to Insert and make a clip. This action will take us to a slide where all those that I chose in the previous step will appear, I delete the Add title option.
If I want I can select the area of this slide and I can enlarge it, to have a better view of the slides it contains. I can at this time, if I want to delete any slide, I can do this by going to the top menu, select the Format tab and on the left side I click on the Edit Summary tab.
Then, my slides appear with a box showing that they are selected, I deselect the one or those that I no longer want to appear and we click Update.
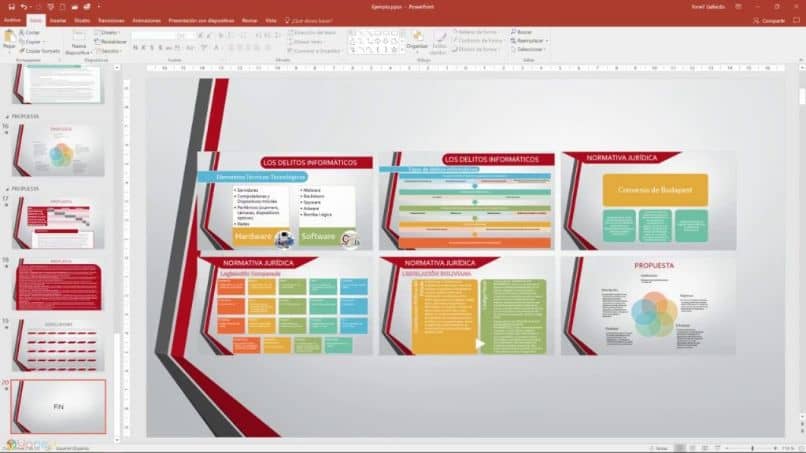
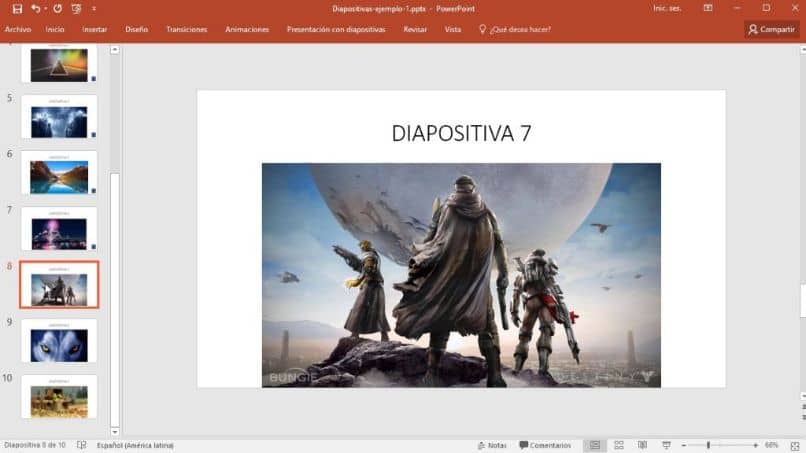
We already have this slide ready, if we go to the left side we can find all the slides of our presentation and this one has been added. We select it and drag it to position it after the title slide.
Slide presentation
This is done to have the organization of our presentation, where the title will be first, then the Index and finally the slide that shows us the end of our presentation. We must place it in this order, then press the F5 key to start the presentation.

When it starts, our title will be shown, then I do an enter and it will go to the next slide, where the index of all the content will be. Using the mouse, I position myself on any slide I want to display and clip it. By doing this, an interactive Zoom is done and it will show us only that slide.
If I clip on this slide again, the Zoom returns and shows us the entire slide containing the table of contents again. I would perform this option with each of the slides so that they are displayed. When I pass them all, I press enter and go to the next slide that would be the end and thus end your presentation.


