In this article we will see a step by step of how to enable the Classic WordArt in Word to be able to use it and create interesting projects with this tool. Learn all about this great tool.
What is Classic WordArt in Word?
It is a tool within Word that helps us make text designs in 3D format already predefined by the program. They are attractive for presentations, projects where the visual counts. There are other alternatives if you do not have the version of Word to create or make texts with a 3D effect using Corel Photo Paint easily and quickly to create our designs.
Its best designs were found in versions prior to Word, in current versions they have already requested design and have become more “common”.
That is why in this tutorial you will learn how to enable it in recent versions to enjoy those incredible and well-defined designs that we saw in previous versions and translate it into your projects.
How to enable WordArt in Word?

- First we must enter the Word program. If you still do not have it downloaded you can Install Word from its Official page.
- Already inside and with the blank sheet we will go to the «Insert» section and then just at the end of the options panel we will click on the «WordArt» button and then another menu is displayed where we can see how our text would look by inserting these styles and designs.
- They are so different from those that we found in previous versions, that’s why to return to the classic we must use this technique.
- We create a new blank document but this time we will save it in .doc (97/2003) format, which is a version older than the current Word.
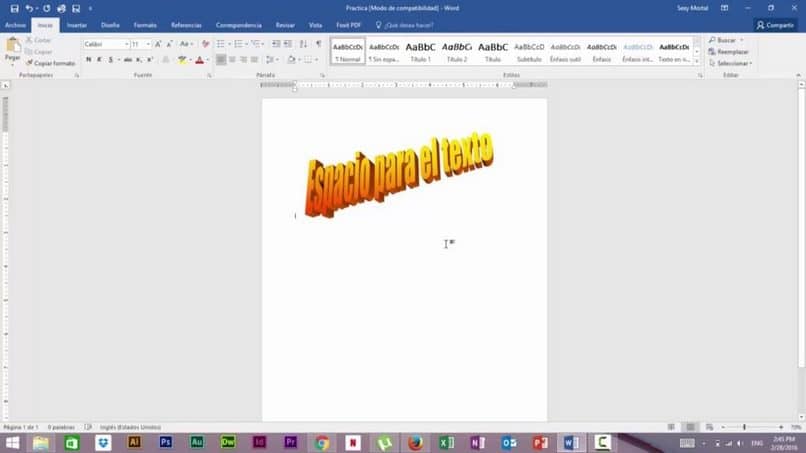
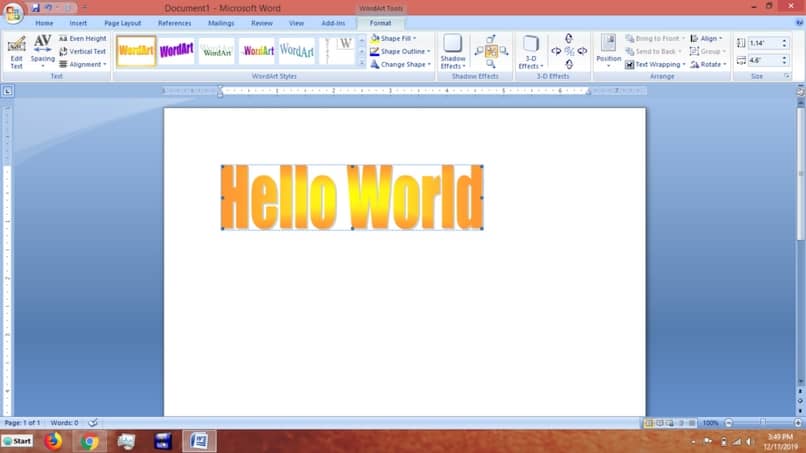
- We enter the new document and when accessing the WordArt we will see that the same change and has the classic designs or styles of the previous version and we can use it without problems as long as the .doc extension is respected when saving.
In this way we can access the classic WordArt panel from previous versions even when in Windows 10 and others.
How to use the WordArt?
-
- In the “WordArt” panel we select the style that is useful for our project or presentation (keep in mind that later within the project you can change for another style if you need it)
- By clicking on it, we can see a new window that asks us to enter a text.
- We enter the desired text and we will see that we can also modify the font and size of it.
- By pressing “OK” we will get our style with the dictated text inside our blank document.
- A new panel will be displayed above that indicates all the modifications to be made on this text with WordArt, from changing the design to adding 3D effects to the text.
Modifications within WordArt
- In the modification panel that appears after having created our text with WordArt style, we can modify the style if we don’t like it.
- Resize it, add another background color to our text.
- Change the direction of our text without changing the style, we can see waves, image stretched up, down, blurred and much more.
- 3D effects of different shapes and directions, more elongated, more centered, up or down.
- Change position within the same blank sheet to give your project the best finish
- We can also play with the text tool that allows us to send this styled text behind or in front of a text.
- And finally, after having your design ready you can insert WordArt text in Microsoft PowerPoint in case you need to pass it to this program.
Other programs where we can achieve 3D modeling is Photoshop where you can easily make a 3D effect on text.

In this way we access a tool that is well known and forgotten by many users who can no longer enjoy it in the current versions of Word.
This step by step I will teach you how to enable and the strengths of its use, create styles and designs to enhance your projects, texts and presentations not only within this program but you can also use your 3D designs that you have developed in WordArt in Microsoft Publisher and get the most out of your tools.


