Since we started using a personal computer we thought that the space on the drives is enough. But with the passing of time we do not fill up with programs and files, running out of space especially in the C drive. This does not generate a very serious storage problem and a question arises how to move files from the C drive to the D drive in Windows easily and fast.
This can be a viable solution, since we have other units where we have enough space to save files. Since when C drive has become full, the first options add Unallocated space. But this will only work if you actually have Unallocated space otherwise you will have to transfer the files to drive D.
Windows offers us different options that we can or cannot use and one of them is to move files that are linked to the operating system. Since these must be together, but if you can move files from the type of third-party programs. These can be Facebook, installed games, Photoshop, etc. video files, movies, photos, images, documents, etc.
How to Move Files from C to D Drive in Windows Easily and Quickly
As we said before, Windows allows us to carry out various operations, but we must be very careful, since we can seriously compromise its operation. Backups must be made before performing these processes. Although we can also easily format a hard drive using the command prompt.

The steps that we will indicate here work perfectly for Windows 7, 8 and 10 versions. And we will use three different methods to move files from C to D drive in Windows easily and quickly that will work according to your case. They will also serve you, not only to move it from drive C to D, but you can do it to an external hard drive.
Three Methods to Move Files from C to D Drive in Windows
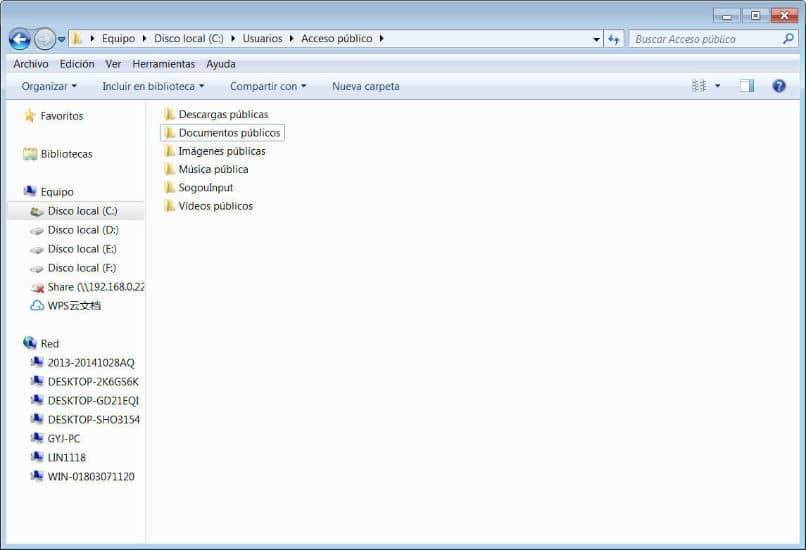
The first method we are going to use is to move the files by dragging them to the other drive and then dropping them. To do this, open Windows Explorer and look for the file you want to move, then select it and right-click and choose the option cut or copy from the menu. Now the next step is to go directly to drive D and paste the file.
This first method is recommended for document or multimedia files, you should not pass program files in this way.
The second method that we are going to apply is through a program called AOMEI Backupper Standard. Once you have downloaded and installed it on your PC, you run it and you must click on the Backup option and then on File Synchronization.
The next step is to click on the Add folder option, with this you are going to search for the file that you want to move from drive C, and then choose drive D as the destination path. The next step is to click on Start synchronization. And that’s it, the file will have been transferred to the other unit without any problem.
Now we will know the third and last method that consists of using the Command Prompt, for this we are going to use the keyboard shortcuts. We are going to press the Windows + R keys, this action will open the Run bar. Here we need to enter the following cmd command and then hit the Enter key, now type the command copyc:workfile.tex d:
This will copy in the root directory of drive C to the file workfile.txt and ready this action must transfer the file to drive D. You can realize that this procedure is not very simple, if it is about programs it is It is preferable to use the AOMEI Backupper tool and if it is personal files, the best option is to copy and paste.

And so in this way we have reached the end of this interesting tutorial, which once again showed you how easy it is to make changes in Windows. And now you have a new knowledge about how to move files from C drive to D drive in Windows easily and quickly.


