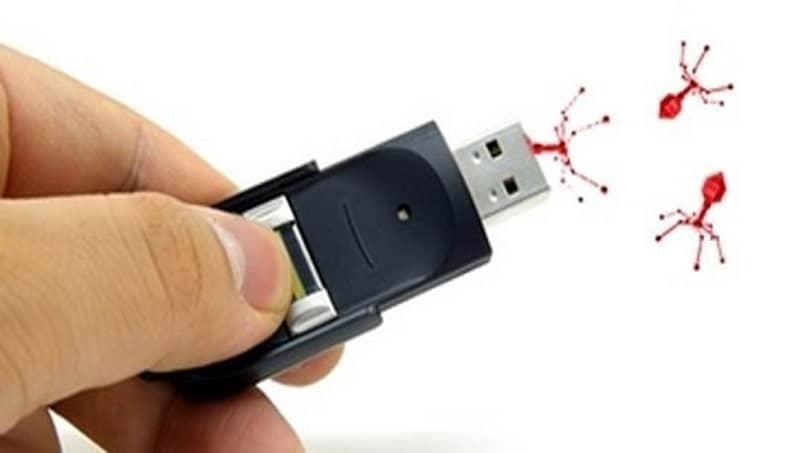
On the internet, there are many viruses that threaten the functionality of our PC. But, what are the types of computer viruses and how do we protect ourselves from them? web pages and USB sticks are sources that could contain malware, which can damage our computer. One reason for your Windows Defender to scan USB sticks automatically.
The Internet is plagued with these malicious programs; which is why it is convenient to know how to use Windows Defender offline in Windows, sometimes. Thus, in this way we will prevent our team from having these harmful guests
Make Windows Defender scan USB sticks
Now, what should we do? Surely you already know how to schedule a scan in Windows Defender Antivirus. And perhaps you have seen that Windows Defender is a good solution to analyze our USB, without having to resort to third-party programs.
Windows Defender can be configured in several ways. We can, for example, avoid installing unwanted applications in Windows; but also perform an automatic analysis, when connecting the pen drive or USB memory to our computer. However, this configuration will depend on the version of Windows that we have installed on our computer.

If we have Windows 10 home, we will have to make a change in the system registry. Before creating a restore point, we must make a backup; thus, we can avoid losing important files.
After making the registry change. We will show you what you will do, you will only have to follow the following easy and uncomplicated steps.
The first thing we must do is open the execution window, for this we will press the Windows key + R. Once this is done, we will write regidit and press Enter.
In the navigation window, we will go to the path HKEY_LOCAL_MACHINESOFTWAREpoliciesMicrosoftWindowsDefender. There, we will create a new registry key under Windows Defender and name it Scan.
After entering the key that we just created, we will add a new value to it, this will be 32-bit DWORD and we will name it DisableRemovableDriverScanning. Right there we will establish its value, which will be 0.
Once this is done, we must accept the changes and close the Windows 10 registry window. In this way, Windows Defender will automatically scan our flash drive when it is inserted into our computer.
Process in Windows 10 Pro and Enterprise
If you have the version of Windows 10 Pro or Enterprise, you only have to do the following to be able to activate the protection of Windows Defender.
The first thing you should do is open the execution window, pressing the Windows key + R. In the search tab, we will place gpedit.msc and press search.
After doing this, we need to open the device settings. There, an administration form will appear. Within that sheet, we will select Windows Components and enter Windows Defender Antivirus. Then, we must press Detection to be able to enter there.
Once inside, we will look for the option Examine removable drive and we will double click on it. Some options will be displayed, we will have to press the Enabled option after this process, we will press apply and accept; thus, the changes made will be saved. In this way, we will activate Windows Defender without any problem.

Despite all this, we still have one question to answer: will it be possible to activate Windows Defender in another version of Windows? The answer is yes. To activate this program in other versions, you will only have to do the following.
First, we need to open the execution window. To do this, we will press the Windows key + R. Then, we must type CMD in the search tab and press search.
Once this is done, the system tab will appear, there we will execute the following command: Set-MpPreference-disableRemovableDriveScanning0 and press the Enter key. This action will automatically activate Windows Defender on your computer.
Has this article helped you? Let us know by leaving your opinion in the comment box. Also, you can share this content with family and friends on your social networks; thus, they can also benefit from this information.


