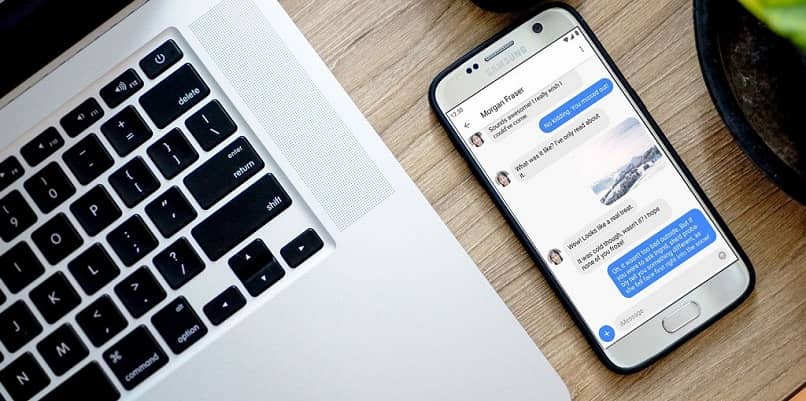
Using iMessage on Android is a reality that you can enjoy today. Gone are the limitations to have this Apple messaging manager on devices with some version of the Android operating system.
What do I need to use iMessage on Android?
Before launching yourself at once to use iMessage on Android, you should know that there are some external elements that you will need. This is mandatory to be successful in your company to take advantage of this messaging.
But don’t worry, just as it is possible to convert WhatsApp on Android to the iPhone style or also download and install the iPhone camera on Android, you will also be able to fulfill the objective of this tutorial.
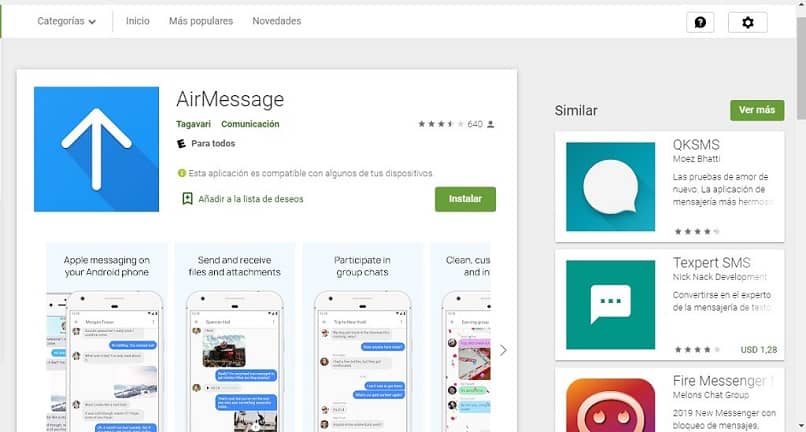
First of all, you will have to install on your Android device (above 6.0) a special application, called “AirMessage”. She is the one that allows you to really use iMessage, but don’t worry, it’s totally legal and, in fact, you can find it on Google Play.
In addition to this, you will also have to own a Mac (higher than OS X 10.10). Through this, the route will be created that will allow you to send and receive messages with iMessage, in this you must also have said program installed.
Steps to use iMessage on Android
The installation is really something simple to achieve, with the particularity that you must carefully follow the procedure that the application developer has drawn up for its operation.
Install the server
The first thing you have to do to use iMessage on Android is to install the “AirMessage” application server on the Mac computer that you will use.

After downloading the file and doing the relevant installation. Then, you must proceed to run the program on your PC, since you have to determine a password with which you will protect the messages that it handles.
However, if you have MacOS Mojave 10.14 or higher, you will have to give the app permissions. This way, it will be easier for you to read and manage the messages.
Set it up as a router
Now you have to adjust the port forwarding of the router. This is done by accessing the browser and placing the address of your router in the search bar. Then, you must enter with your username and password.
In the “Port Forwarding” option, proceed to create a new route with the following specific parameters: “IP PC Mac”. The port for the service will be “1359” (automatically) and you must enter the initials “TCP”.
As an important fact, the IP must not be changed, otherwise the server will not work and, to be able to install it again, you will have to recreate the server and fill in the corresponding data.
Download AirMessage on Android
After finishing the server setup on the Mac computer, you can continue the procedure by installing the “AirMessage” app on the device you want to use iMessage on Android.
As you have already read, this is available on Google Play, so you just have to open that store, using the search bar, type “AirMessage”. The first result will be the correct one, although if you have doubts, you should know that the developer is “Tagavari”.

Another way to recognize it is by its icon, which is an arrow pointing up on a blue background. And, one of its most outstanding features is that it is free to purchase, so you just have to press “Install”.
Can’t I use iMessage on Android without all these apps?
Unfortunately iMessage is not available for Android as a direct application, since being developed by Apple, it remains practically exclusive for this operating system.
Therefore, until now the only method to be able to enjoy the benefits and peculiarities of this application on Android devices is through the aforementioned AirMessage program and its server specially created for it.
In fact, it is so reliable that it maintains all the flashy and acclaimed features that, until recently, could only be used by users of Apple devices.


