PowerPoint is one of the most versatile tools of the Windows system; you don’t even need to download it from the internet to use it on your PC. It is easily accessible for users and, furthermore, simple to use. For presentations, card design, and so on, PowerPoint is ideal, however, many are concerned about how to make an image transparent in PowerPoint.
It turns out that there is no button in the “Image Tools” that gives us this effect, this can push us to have to use a separate image editor to reinsert the image to the presentation. But, here we can save you all those jumps with a little trick that you will use, without problems, the next time you want to make an image transparent in PowerPoint.
How to Make a Picture Transparent in PowerPoint
First of all, keep in mind that this is optional. You’re probably happy to edit the images outside of PowerPoint and then insert them into your presentation, but here’s some immediate help because there are times when there isn’t much time to edit:
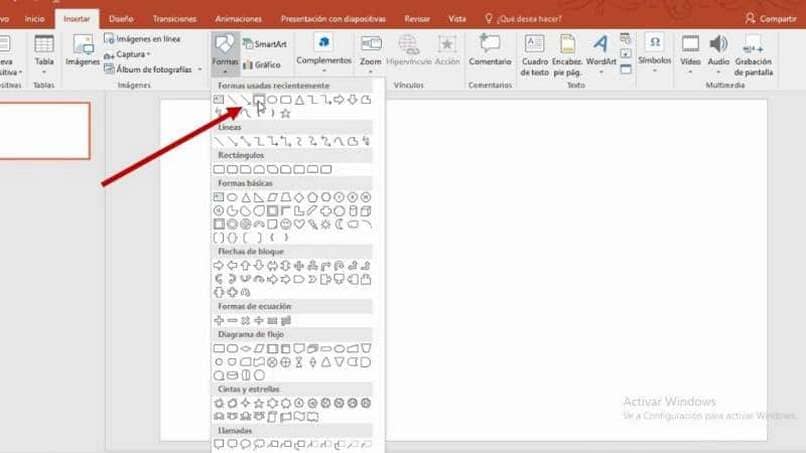
• When you’re on the PowerPoint start sheet, go to the toolbar at the top of the screen and click “Insert”.
• Then click on “Shapes” and choose the rectangle shape.
• Draw it on the sheet, clicking and dragging the mouse from left to right. Once you have it, shape it as closely as possible to the image you want to enter.
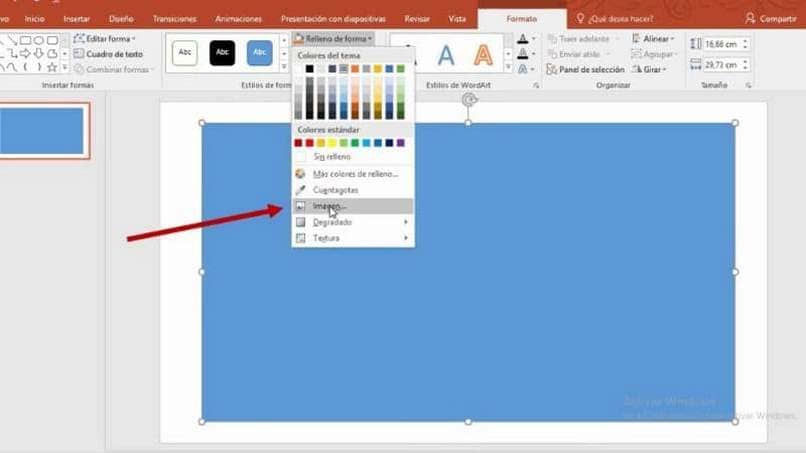
• In the toolbar you will see how “Drawing tools” will automatically appear. To your right you will get an option that will say “Shape fill”, where you will click.
• Then click on “Image” and a box will appear where you must click on the “Work offline” button, so you can take the image from your PC.
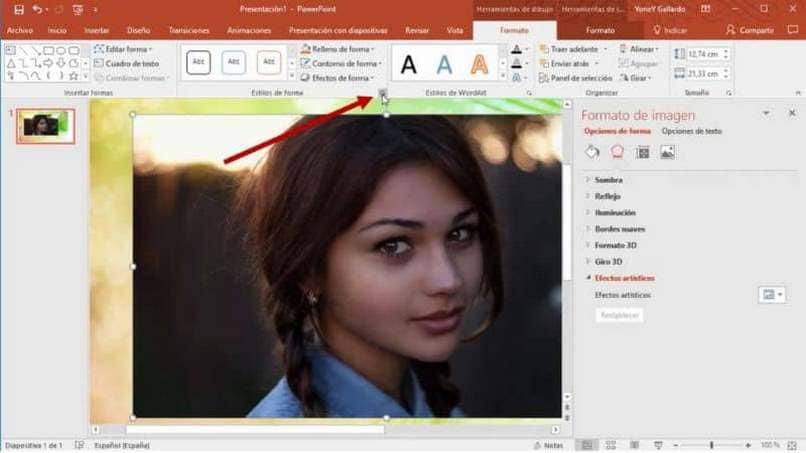
• As soon as you choose your image, it will appear inside the shape you chose. Then you click on “Drawing Tools”.
• There you will look for a space called “Shape Styles”. Click on the small button on the right side of that space, located at the bottom edge of the bar.
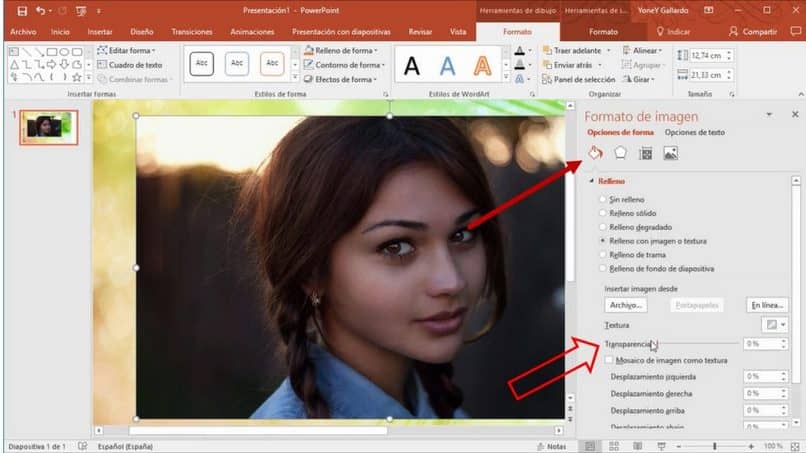
• To your right, an options box will open, where you will click on “Fill and Line”, which is an icon of a paint container.
• You will click on “Fill”, where you will find “Transparency”, a button with which you can move and define said effect on your image.
As you can see, you can make an image transparent in PowerPoint without leaving the program, thus avoiding having to jump from one place to another, editing and saving images unnecessarily.
How to Add a Background Image to a Transparent Image in PowerPoint
After following the steps above, you may get the idea to put a background image to make a better contrast with the image you just edited. You can do this without going back to the start using the following suggestions:
• Drag the image you’ve already edited to your right, no matter where it leaves the sheet.
• Go to the top right of your screen and, on the toolbar, click on “Insert”.
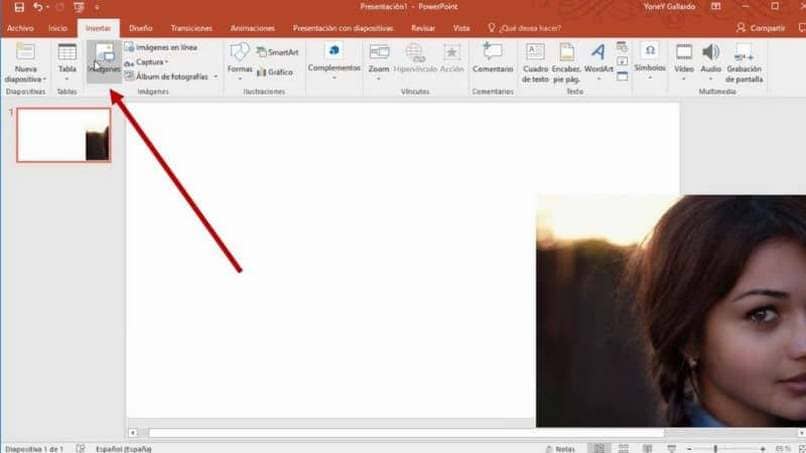
• Subsequently, click on “Images” and select the background of your choice in the browser.
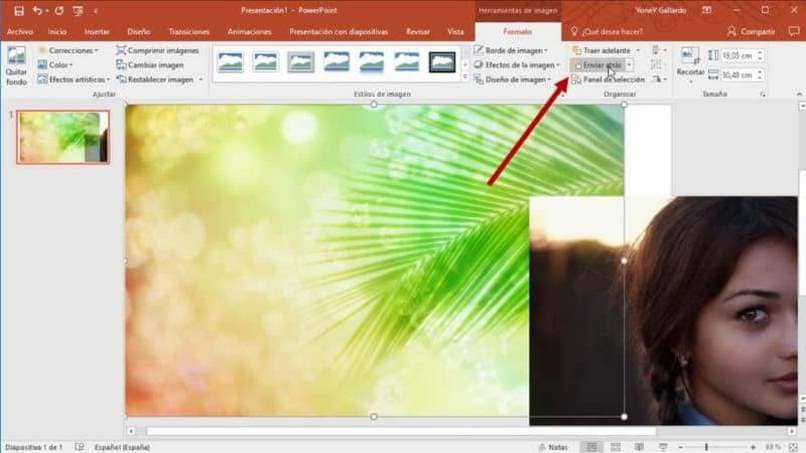
• After you select it, go to the toolbar where “Format” will be displayed.
• Hit “Send Back” and your background will be behind the image you’ve already edited.
• Consequently, you will be able to accommodate the image that you had placed to your right on top of what is now your background image.
PowerPoint will remain convenient for you to use and thanks to these little tips, you will be able to do various activities in one place, saving time and energy. Do not forget to continue reading our blog, where you will always learn to do new things.


