If you want to create your own website, Microsoft Azure is a good alternative. Next, we show you step by step how to do it. In case you do not know about this platform, it will be good for you to ask yourself some questions such as: What is the Microsoft Azure platform? How does it work and what is it for?
In this digital age, both for businesses and for content creators, since it is a tool that allows Internet users to expose the product offered.
In addition, this virtual exposure allows said product or content to enjoy greater credibility with users and future customers, which can translate into growth.
Many companies have a computer team dedicated to the creation and management of their website, in order to always maintain quality.
However, for others it is more convenient to create their website themselves, for this they have various tools that can facilitate this activity, such as WordPress or Blogger thanks to the ease that these platforms provide such as installing templates or themes in WordPress.
One of these tools is Microsoft Azure, a platform that offers cloud computing services to group, manage and run various applications no matter where you are.
The Windows Azure Web Sites app enables, among other things, publishing to websites in a very Windows-like environment, making it easier for inexperienced users to use. If you still do not know it, the first thing you should do is create a free Microsoft Azure account without a credit card
Continue reading the article and discover how to make your own web page using the services offered by this great tool.
Create your account in Microsoft Azure

To use the services and applications available in Microsoft Azure, you need to log in to its platform. For this you can use the data of your Microsoft or GitHub account if you have one.
Otherwise, press the Free Account button, at this point you can choose if you want to pay for the platform’s services or choose the free version that allows you to use some of its applications for 12 months and pay later. If you prefer this last option, press the Start for free button and enter the information of the email that you will use for the subscription.
Next you must enter some personal information such as country of residence, name, email address and telephone number. At this point it is important that you enter a valid number because when you press the continue button you will receive an SMS with the verification code.
You must enter this code and then press the Check code button, wait briefly for the process to complete. Next, you will need to enter your credit or debit card details, but don’t worry, no charge will be made, this is part of the verification process.
Press the continue button and check the box to accept the terms and conditions of the contract, additionally you can check the box to receive information related to the platform, press the Register button to confirm all the information and wait a few seconds.
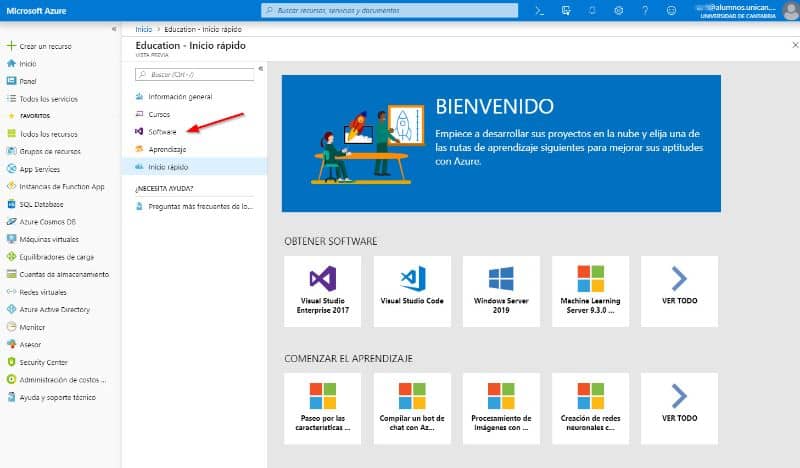
Once it has been verified, press the link Go to the portal to see a quick guide that will show you the basics to use the platform. Then you can create a resource group to group the services or applications that you will use regularly.
Create a website with Microsoft Azure

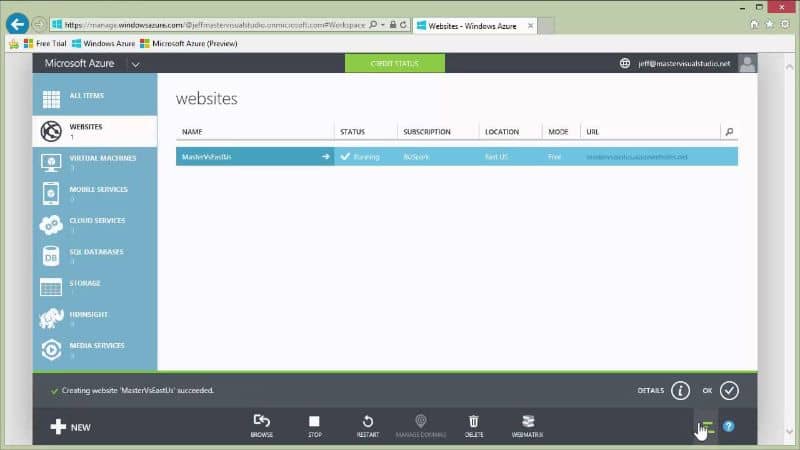
To create your own website using Microsoft Azure you must log in to the platform and go to the Websites section.
Click the Create a website link to display the options offered by Azure. The easiest option is quick create.
You just have to enter the URL or domain you want to use, the system will tell you if the one you have entered is available, otherwise you will have to modify it. Select a region to host your website and a database in case you need it and press the verification button.
When you re-enter the Websites section on the platform, you will see this one that you have recently created and you will be able to modify and manage it easily from the panel.
If you want to create a more specific site, you can select the option From the gallery where you will see the applications available for the different types of sites, such as Blogs, Ecommerce, Frame networks, forums, among others.
You just have to select the application you prefer and fill in the configuration data such as the URL, the database you will use and the hosting region. Once you are satisfied with these data, check the checkbox and press the Complete button; You can now see your site in the Websites section.


