macOS folders with password
Sometimes there are files on the Mac that not everyone is allowed to view. You can download special apps for this purpose, which allow you to provide your folders with a password. It is also possible without additional software. A built-in function of macOS then offers a solution. You must use secured disk images for this. In this tip we explain how this works.
Protect folders on Mac with a password
To password protect your folders, go into Disk Utility and follow these steps:
- Open Disk Utility in the usual way.
- Then navigate from the menu bar to File > New Disk Image > Folder Disk Image.

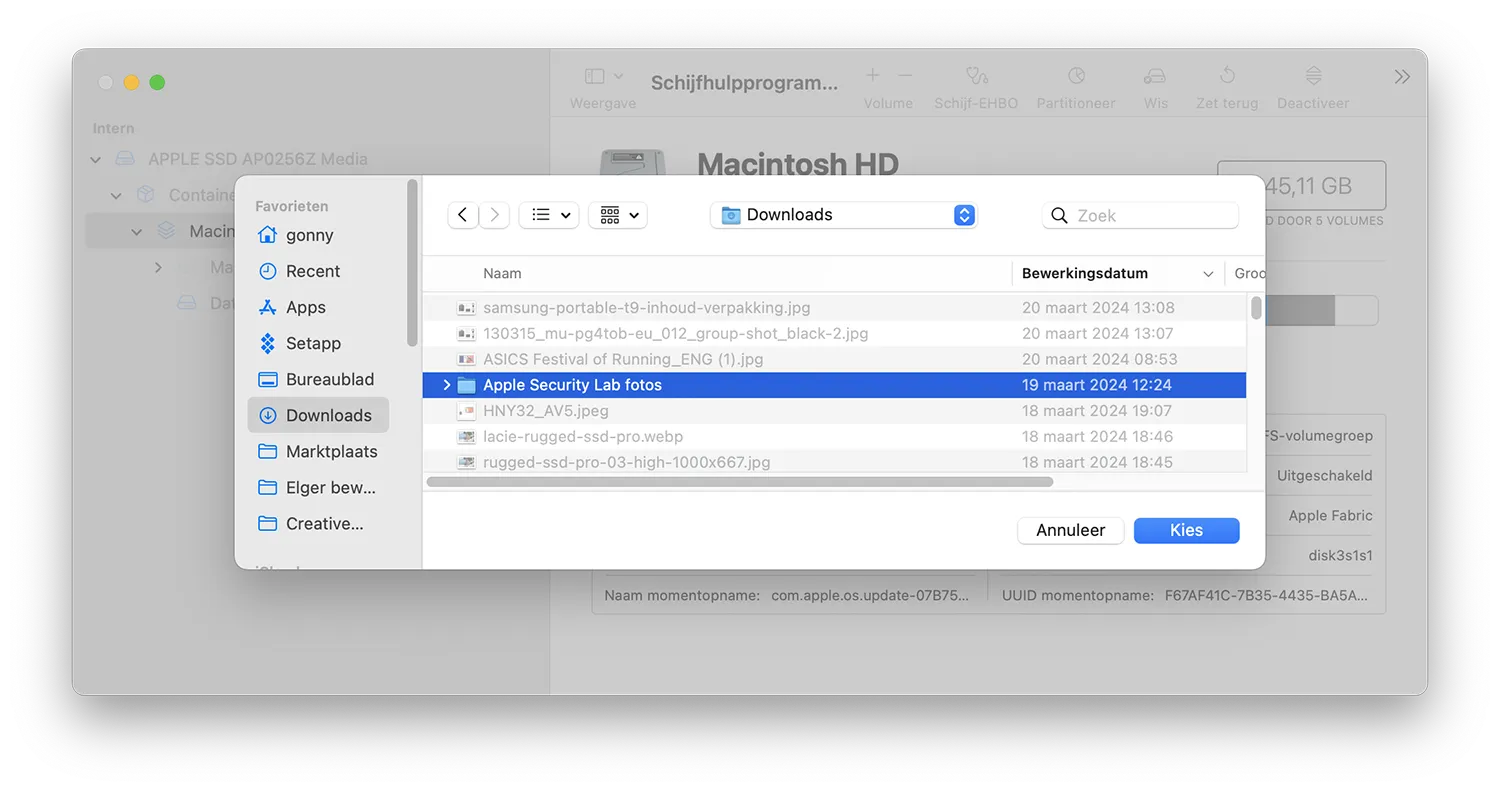
- Choose the folder you want to protect with a password and click Choose.
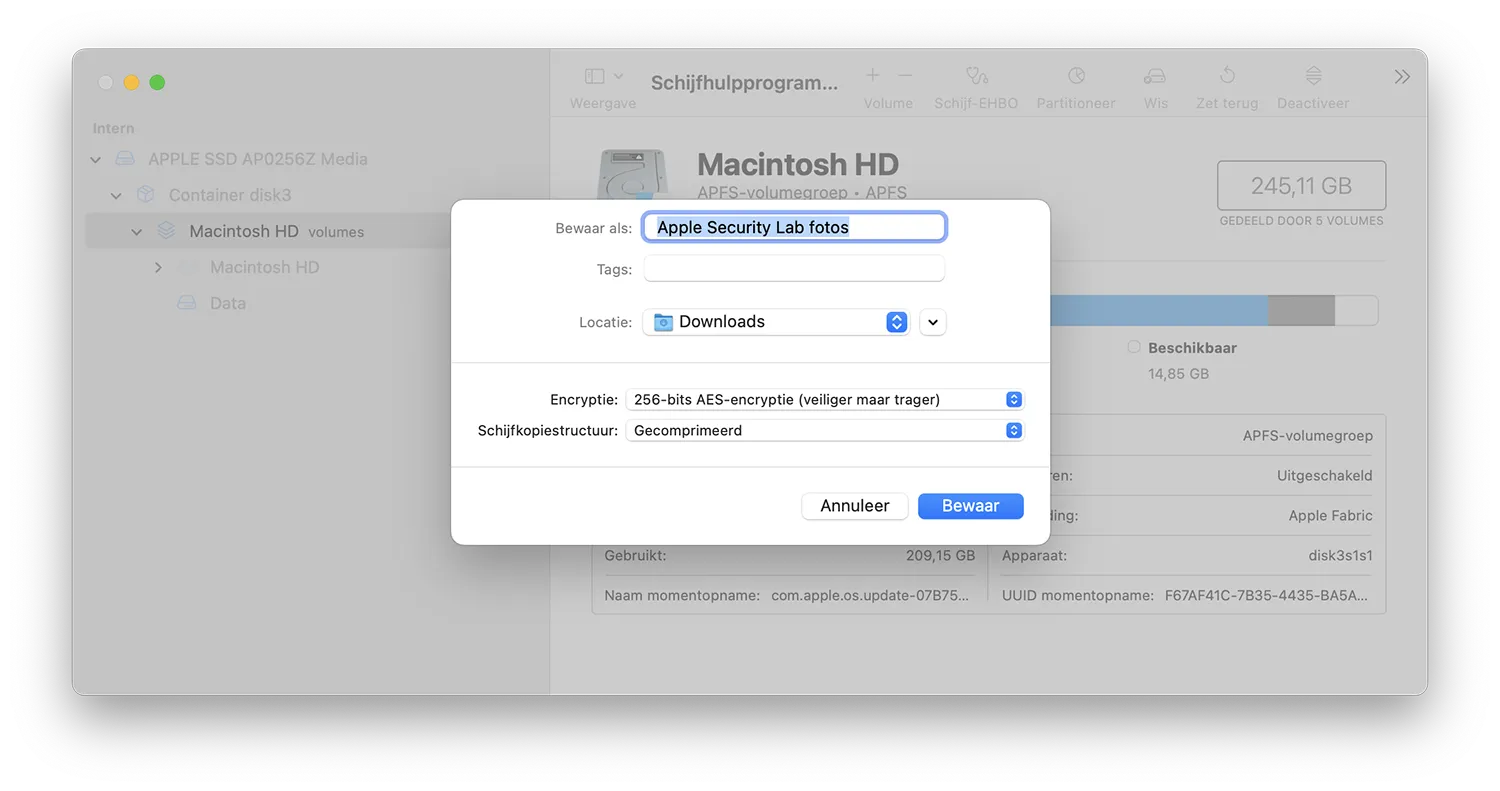
- Enter a different name for your folder if necessary.

- Click Encryption and select 128-bit AES encryption or 256-bit AES encryption (better but slower).
- A window will open where you have to enter your password twice.
- Click Disk Image Structure and choose Read/Write.
- Click Save and the folder will be created.
Make sure you don’t save the password in the iCloud Keychain, but somewhere else. Otherwise, someone with access to your computer will still have access to the secure folder.

You can now discard the original folder, but keep the .dmg file that was just created.
Files are easy to add to the folder. You must first open the folder with your password by clicking on the .dmg file. Are you ready? Then you can close the folder by clicking on the eject icon. This means that the content cannot be viewed by other people.
Please note: make a note of the password somewhere, because you will no longer be able to access the content if you forget the password.
Remove password from the folder
If you want to clean up your secured macOS folder after a while, you can do that too. You can simply move it to the trash and then delete it permanently. But you will also lose the entire contents of the folder.
If you want to keep the folder, but you want to remove the password, you can do that too. Follow these step-by-step instructions:
- Make sure you have opened the secure folder. To do this, click on the .dmg file and enter your password. Once you enter the correct password, the folder will appear under Locations in Finder.
- Then create a new folder (for example on your Desktop). Select all the data from your secure folder and copy it to your new folder on the desktop.
- Go to Disk Utility and select the protected folder under the Disk Images heading.
- Press the minus sign at the top of the bar above the Volume heading.
- Finally, delete the .dmg file by dragging it to the Trash.
The protected folder can now be deleted without losing any data.


