Smart TVs are changing the way we consume content. Thanks to them we can install our favorite apps, such as Netflix, Disney, Amazon Prime, etc., to be able to access their entire catalog directly from the television, without intermediate devices. In addition, Smart TV systems also have a large number of recommendation systems based on our tastes. The problem is that, along with all that, comes an “extra” that we all hate: advertising.
It doesn’t matter what brand or model of Smart TV we choose: Samsung, LG, even an Amazon Fire Stick or a Chromecast with Google TV. All of them are going to be packed with integrated ads. These ads are based on our tastes and interests to recommend everything from series and movies to items we can buy. And they make manufacturers a lot of money.
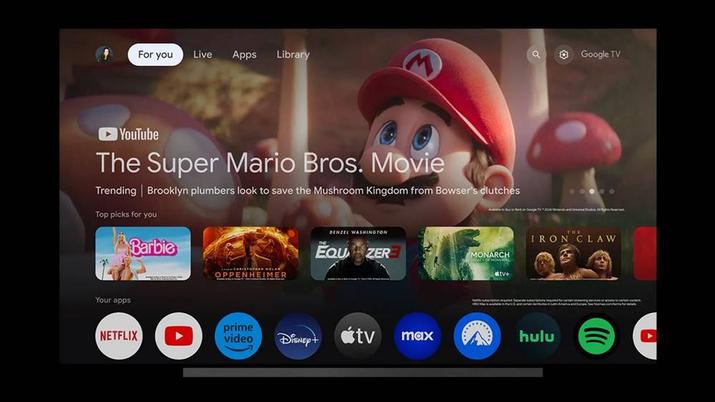
These ads cannot be removed. The only way to disable them on a television is to disconnect it from the Internet, so we will not be able to use it to watch the content either, which is what interests us. And, if we connect another device like the ones we have talked about, we are going to have the same problem with the ads.
Luckily, there is a trick that manufacturers don’t want you to know to eradicate all this advertising from your television. And it’s as simple as changing the DNS.
Change the DNS of a Smart TV to remove ads
The DNS are responsible for translating the domains of the servers into the corresponding IP addresses in order to connect to them. Fiber operators’ routers have their own DNS, which more or less works. And we can also configure other DNS by hand, such as those of Google (8.8.8.8) and Cloudflare (1.1.1.1) to be able to browse faster and without problems.
But, in addition to the main DNS, we can also find other alternatives that offer us different features, such as, for example, being able to block all advertisements on the Smart TV. These work in a very simple way: when the TV tries to connect to a server, it checks whether its domain is on a block list or not. If it is not, it is translated by the IP and connects without problems; if it is, the connection is blocked.
How to change it
Depending on the operating system that our television has, the process will be carried out in one way or another, although in the end everything is similar. What you have to do, broadly speaking, is enter the network settings and configure the DNS that we are going to use there.
In the case of Tizen, Samsung’s Smart TV system, what we have to do is enter the Configuration panel, within the “General” section, and there we will select the “Network” option. In the section that appears we can change the “Network Settings” to change the IP of the DNS server to the one we want.
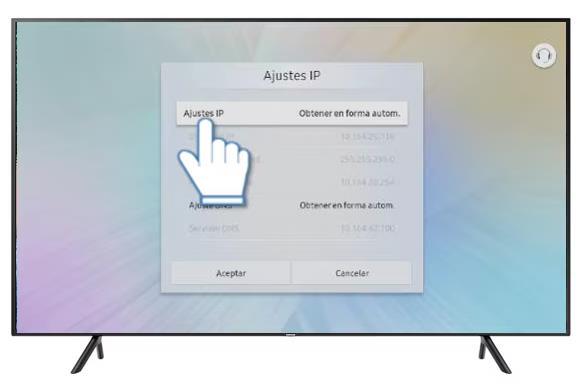
If we have an LG with WebOS, what we have to do is open the Settings panel, and within it go to the “All settings” section, to open the “General” tab. In it we will select “Network”, the network we are going to use (cable or Wi-Fi) and edit it. Once inside, we enter the advanced configuration and there we can enter the server we want.
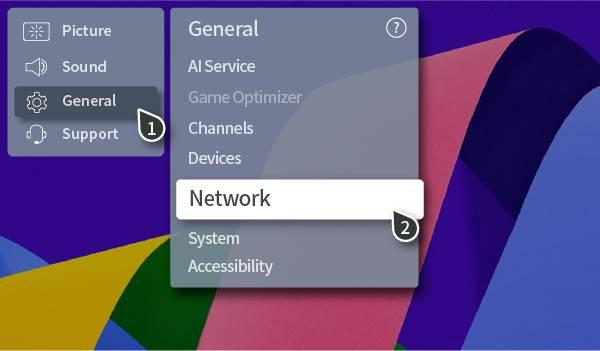
If we have a Smart TV with Google TV, what we will do is enter Settings, go to “Network and Internet”, and then “IP Settings”. Once there, we choose “Static” and enter in the corresponding box the DNS that we want to use from the ones we are going to see below.
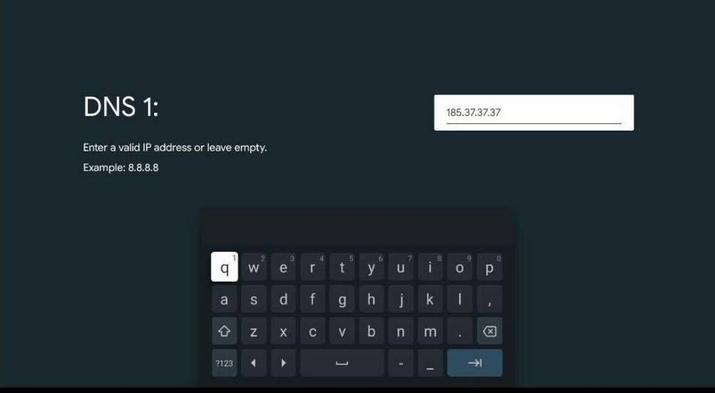
And ready. Our TV will now start using the new DNS.
What DNS to use
There are many DNS servers. Most of them are redundant and only serve as support to the main ones. But others have extra functions in the form of filters that allow us to block unwanted content, computer attacks, and other elements such as the ads we talked about.
In this way, to block ads on television, what we will do is configure one that has this feature. For example, some of the ones we can configure are:
- AdGuard (94.140.14.14)
- NextDNS (188.172.217.27)
- Control D (76.76.2.2)
- Mullvad DNS (194.242.2.3)
- DeCloudUs (78.47.212.211)
If an app stops working with these DNS it is because they are considering it dangerous. What we have to do, to use it again, is to reconfigure the default DNS, such as 8.8.8.8 and 1.1.1.1, for example.

