If you want to learn how to make a professional photomontage in Photoshop, then we will explain how to do it step by step. In this way you can edit your photos and give them unique and special touches to make them look great and more interesting.
Without a doubt, once you know the steps that we will give you in the following guide, you will be able to make professional photomontages in a simple way. If you still don’t have this program installed, you can easily and easily download Photoshop from its official account.
What steps to follow to make a professional photomontage in Photoshop?
First of all, it is important to be clear that a photomontage is the process where elements of one photo are added to another and merged to create a single image. In this way, photos can be obtained with various elements that would otherwise be impossible to achieve.
This technique is very useful to achieve surreal images, or to add the elements that were missing when capturing the photo.
Now, if you want to make a professional photomontage with Photoshop, you just have to follow the steps that we will explain below:
Select the elements for the photomontage
The first thing is to select the images that we will use for the photomontage. It is important to note that all images should have approximately the same resolution. Otherwise, changing the size and resolution to enlarge the image to fit the proportions correctly may cause the image to become distorted.
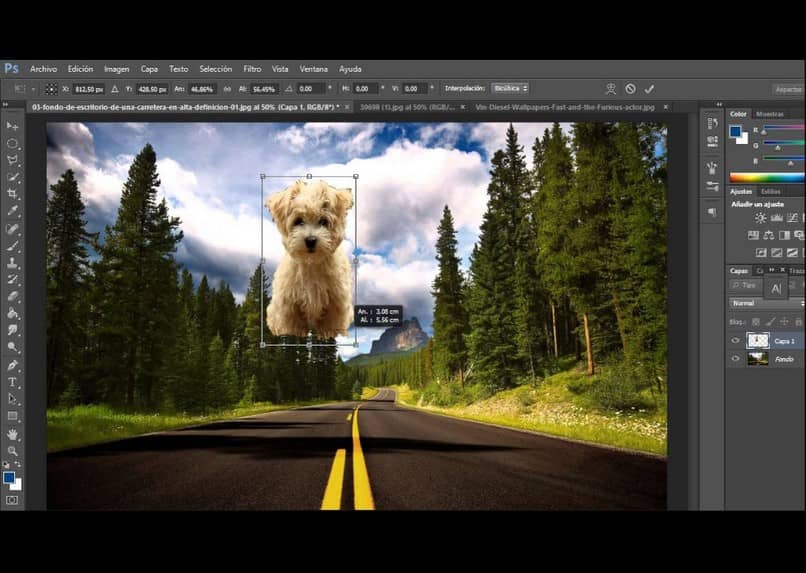
Once you have selected the images, open them in the Photoshop program. You can open each image separately, or open them by layers in the image that will be the base where you will make the photomontage.
Before you start manipulating the image, make sure you have ‘Show Transform Controls’ and ‘Auto Select’ turned on; this will allow us to more comfortably manipulate the images on the canvas.
Remove the background to the elements to be added
If you’ve selected items that contain a background, you’ll need to remove it before you can add them. For this, you will have to familiarize yourself with the selection tools; You can select rectangular, elliptical among others. Among the most useful and practical options we have the quick selection and perfect cut in Photoshop or also using the magic wand.
To remove the solid background from a photo, select the layer you want to work on. The next thing is to click on the background to identify what we want to hide or eliminate. We will be able to control the tolerance level of the selection, that is, the amount of similar color that will be taken into account to select in the image.
Instead of just deleting the background, we’ll go into the selection options, and after selecting the background, we’ll click ‘Invert’.
The next thing is to add a mask to the layer, in this way we can select parts of the image and color them to show or hide them. If we color a part white, that part will be displayed; to hide it we will color the area with black color.
With images that do not have a solid background, what we will do is select the area that we want to keep with the magic wand. Next we will apply a mask, where it will show us the areas that will be hidden; there we can make adjustments to perfect the details. Next is to select ‘Output Settings’, ‘Layer Mask’.
By doing this, we can see the result. Follow these steps with each image to remove the background depending on the case (solid background or not).

Correct image details
If there are some elements in your background image or base image that you want to remove, you can make use of Photoshop’s ‘Spot Healing Brush’ tool. This tool is very useful since, automatically, the program replaces the pixels of what we want to eliminate with surrounding pixels, managing to eliminate the unwanted element.
So that all the elements blend together and acquire a more natural look, we can adjust the brightness, exposure, and saturation, among other options. Note that layers can be edited separately, or together.
Once you are satisfied with the results of the photomontage, you can save the image with the extension you want, such as .JPEG or another.
As you will see, manipulating Photoshop can be simple if we know the usefulness of its tools. So to make it easier for you to edit images or make photomontages with this program, we advise you to use it constantly so that you become familiar with it and gradually discover everything it can offer.


