Today, the world of streaming is one of the largest entertainment businesses in the world, whether on YouTube, Twitch or even Facebook. In the case of Twitch, it is the platform where these live shows are taking place the most and where streamers such as Ibai, TheGrefg or Auronplay, among others, are proliferating the most. Therefore, you should know that they use Streamlabs OBS, a live streaming software, to perform such streaming.
It should be noted that Streamlabs OBS is very much based on OBS Studio, which is a free and cross-platform application that allows the capture or recording of video and its retransmission. But where it is fundamentally different is that Streamlabs OBS is primarily used for live streaming.
What is Streamlabs OBS and how does it work?
Streamlabs OBS is configured as live streaming service software provided by Logitech. This offers a very simple way to manage the chat that exists in the streams, in addition to offering elements that can be added to the screen and several ways to interact with the chat. For example, to the screen you can add some alerts.
Such software comes with some additional features such as automatic game detection and built-in chat control. It should also be noted that it is very easy to use and the user interface is very organized, although one of its disadvantages is that it only works with Windows and macOS, not Linux. Furthermore, this software is capable of streaming to 7 services: Twitch, YouTube, DLive, NimoTV, and Facebook among them.
As far as its use is concerned, there are two ways to use it. On the one hand, you can do it from the website itself. That is, using a URL that connects OBS with Streamlabs. Thus, it will be linked to your YouTube, Twitch or Facebook account and, in this way, you will be able to start working with all the elements that it offers you. On the other hand, you can use it by downloading Streamlabs OBS. This is the app from Streamlabs in collaboration with OBS, bringing together the best of both worlds. With this app, keep in mind that you won’t have to connect to Streamlabs to use anything.
How to configure the application
The most recommended thing is that you download the Streamlabs OBS application since, otherwise, you will have to be connecting and linking OBS with Streamlabs and it is much more work to do it. Having the joint application to download it, it is much more direct.
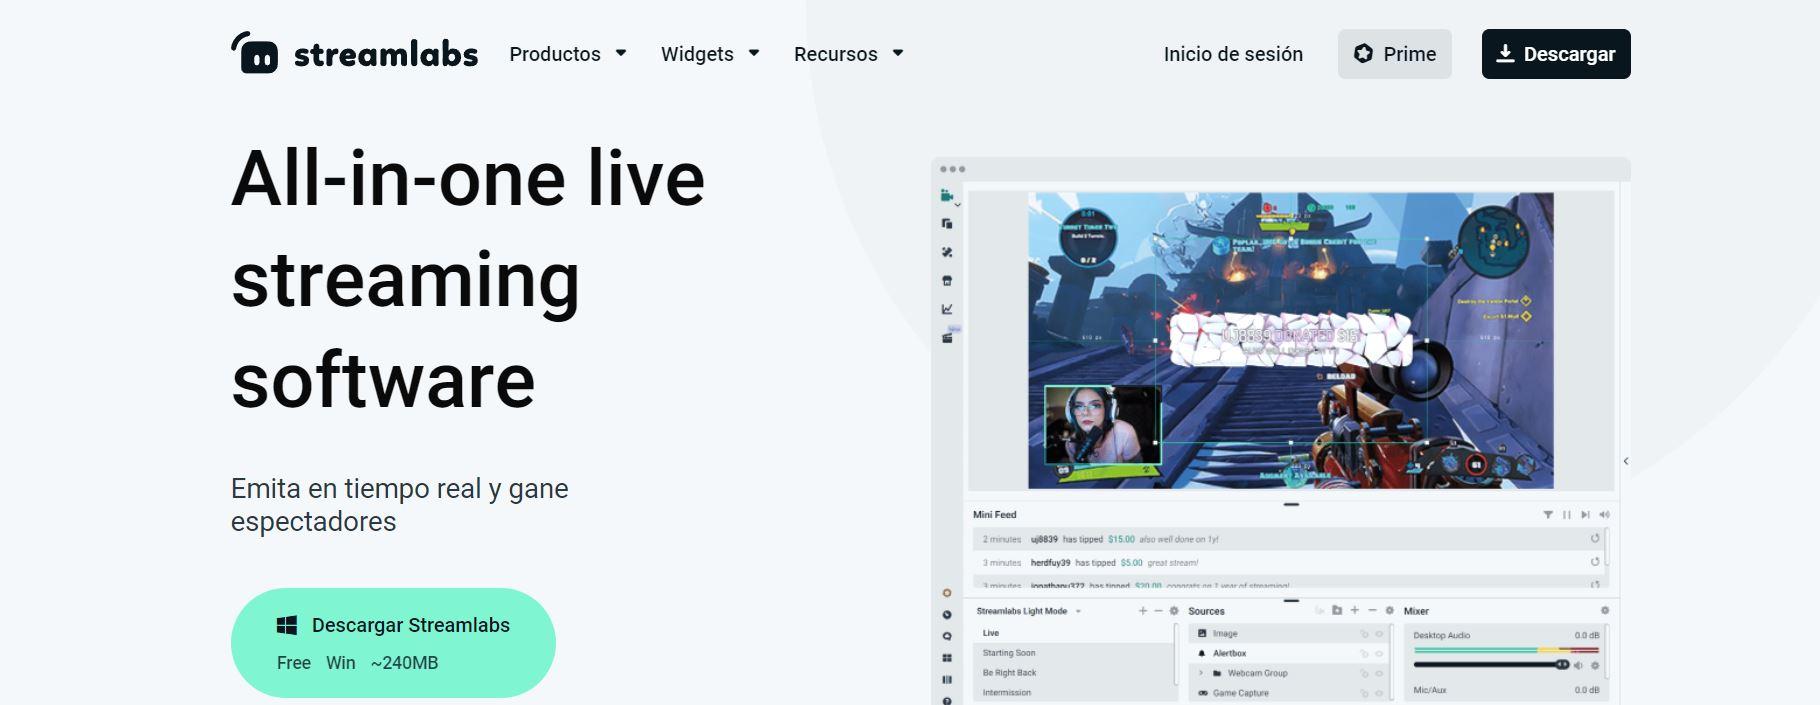
- To do this, open the Streamlabs website and click Download to start downloading the application compatible with your operating system.
- Now, open the downloaded file and install the app.
- Once installed, open the app and sign in with Twitch, YouTube, Facebook, or the compatible streaming service you want to use.
- Select your primary microphone and camera to get started right from the setup process. You can also change them in the settings.
- Then, select the theme you prefer, it will be applied to your broadcast so that users can see it.
After having done this, you will have configured the main part and you will be able to choose between subscribing to the application for free or to its prime version. With the prime option, you have the option of multi-streaming to multiple platforms at the same time, as well as more themes, applications, etc… although it costs 18.14 euros per month.
change the settings
Once the above is configured, you will be able to access the Streamlabs OBS editor. But before you start a stream, you need to configure settings like resolution, frame rate, speed control, bitrate, etc… It is important to adjust everything according to your system hardware and your network connection. In fact, to make it easier, there’s a feature called Auto Optimize, which detects your hardware and Internet speed and adjusts settings automatically.7

- To do this, you will have to click on the cog icon at the bottom left to open the settings.
- On the General tab, scroll down and click Run Auto Optimizer to configure everything from video to output settings automatically.
- Alternatively, you can also click the Import From OBS button to import all settings from OBS Studio to Streamlabs.
- You can also open video settings to adjust resolution and frame rate, audio settings to set channels and sample rate, output settings to change bitrate, and encoder options.
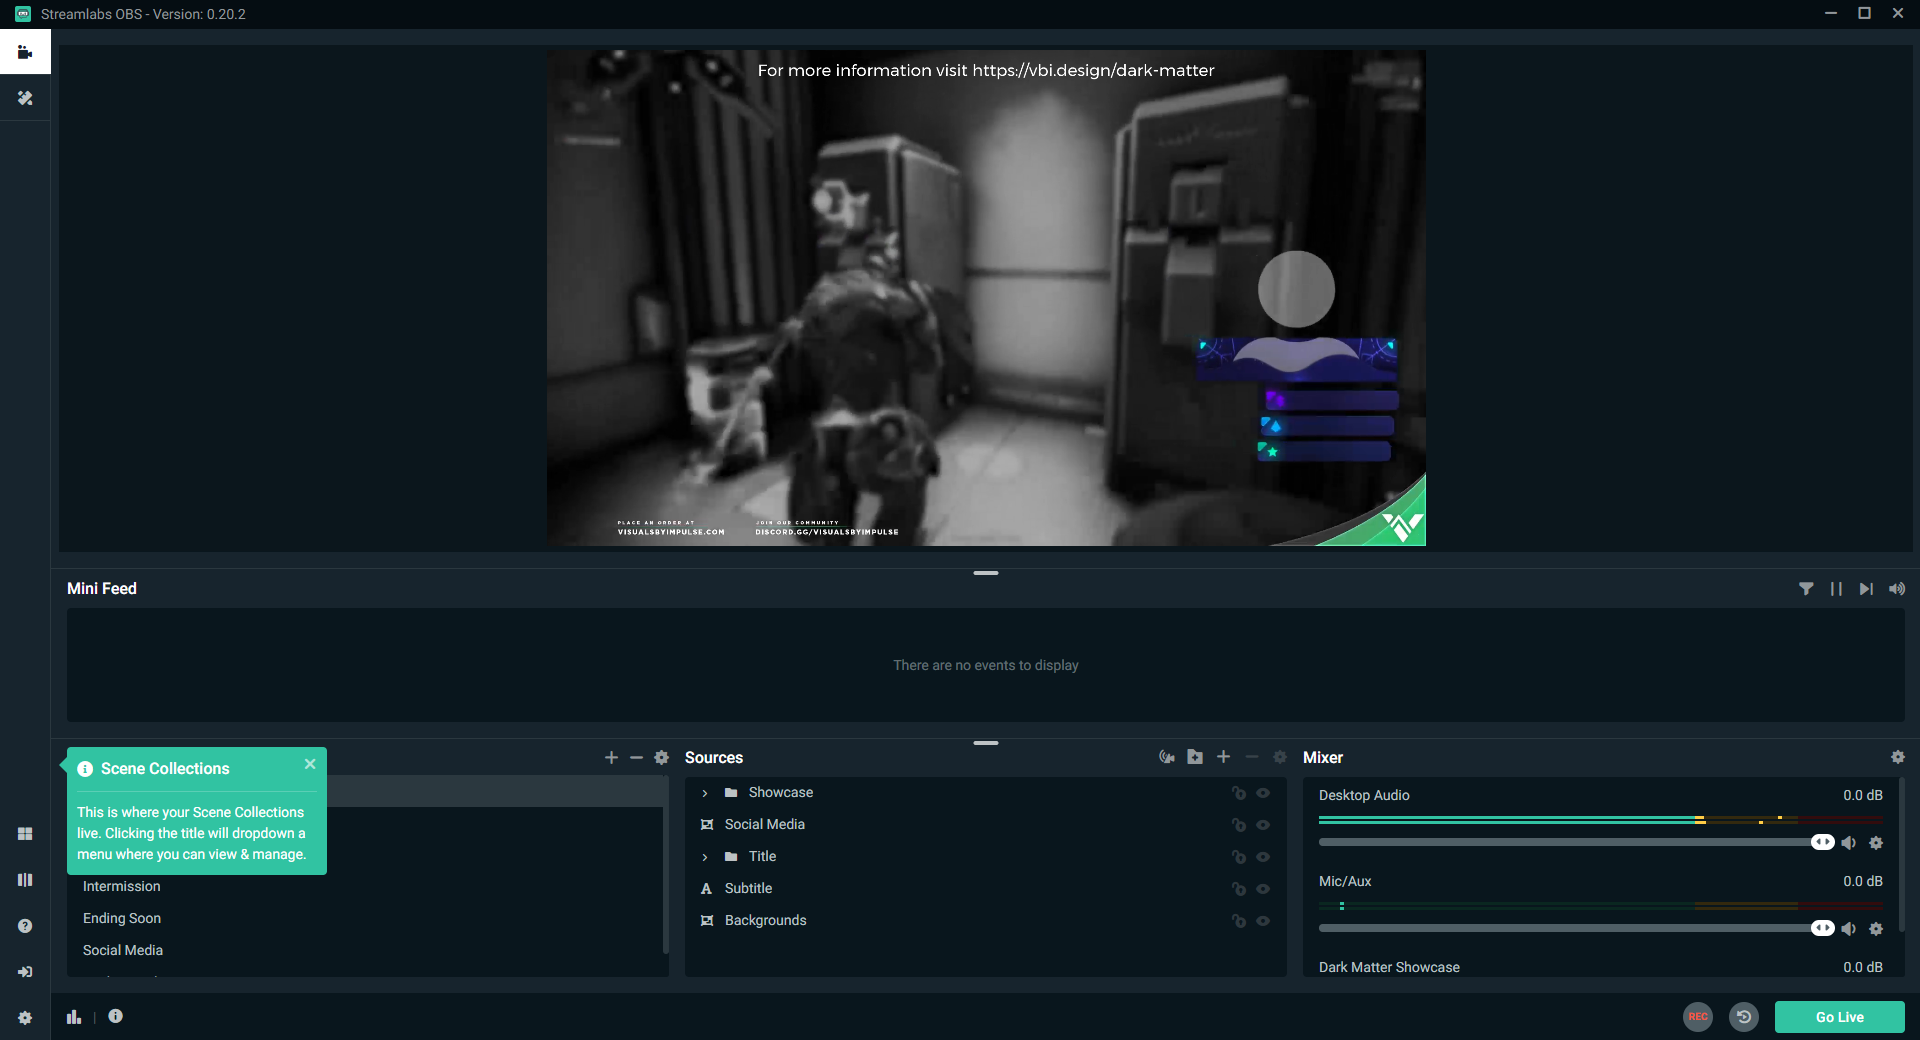
Adjust scenes and sources
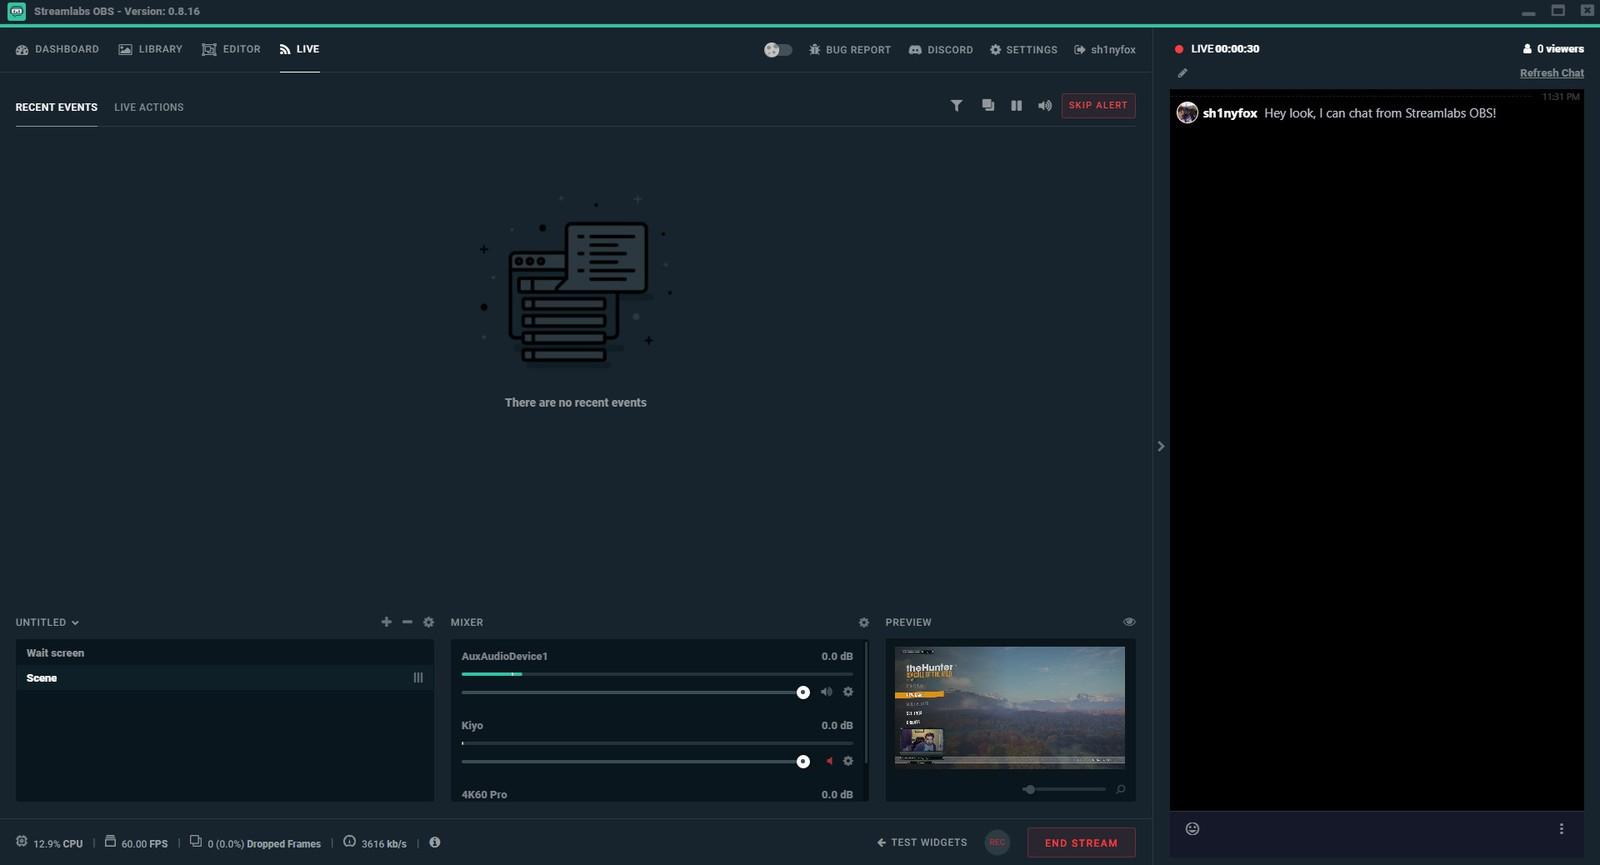
With the above setup complete, you’re really ready to start streaming. So, open the editor by clicking the video icon at the top left. Here you will find some tabs like scenes and sources. In the case of sources, this is where you can add sources when broadcasting. That is, you can add a webcam, a screen, a window, a game, a browser, a medium, an audio input or output, a virtual reality or anything else.
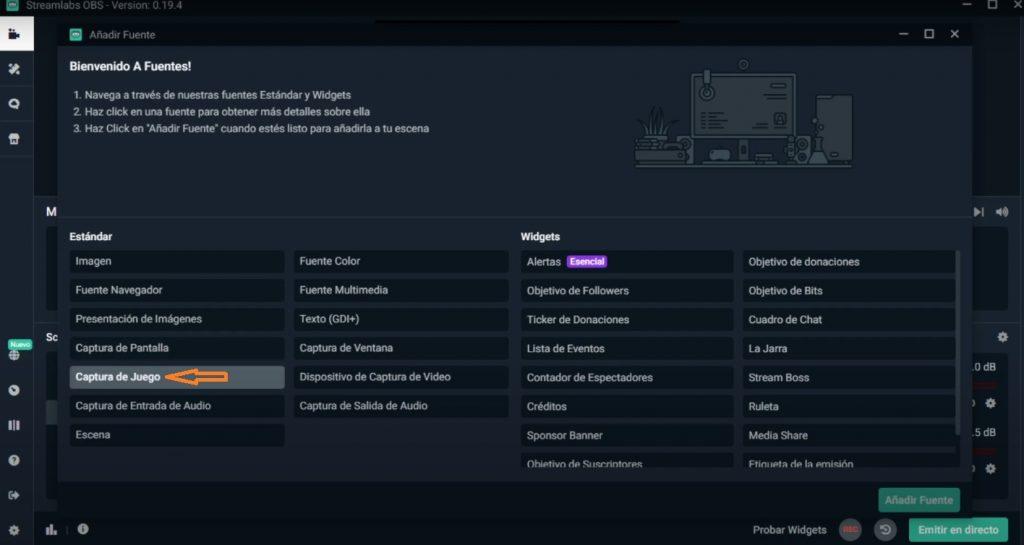
All the sources you add will appear on the screen to broadcast. If, for example, you want to add a webcam:
- Click the + icon in the sources tab.
- Then select the Video Capture Device in the popup window.
- Later, you can select the camera, change some settings like resolution and click Done.
- Once the font is added, it will appear on the screen and you will only have to adjust the size.
As we have said, you can add as many sources as you want. In the case of scenes, these are nothing more than a group of sources. So if you have added your webcam as a source and want to change it to screenshot, you don’t need to remove the camera and add screenshot as a source. You can simply create a new scene and add multiple sources here.
In Streamlabs, it’s very easy to create a new scene:
- Click the + plus icon above the scenes option.
- Give the scene a name and start adding sources to the scene you have created.
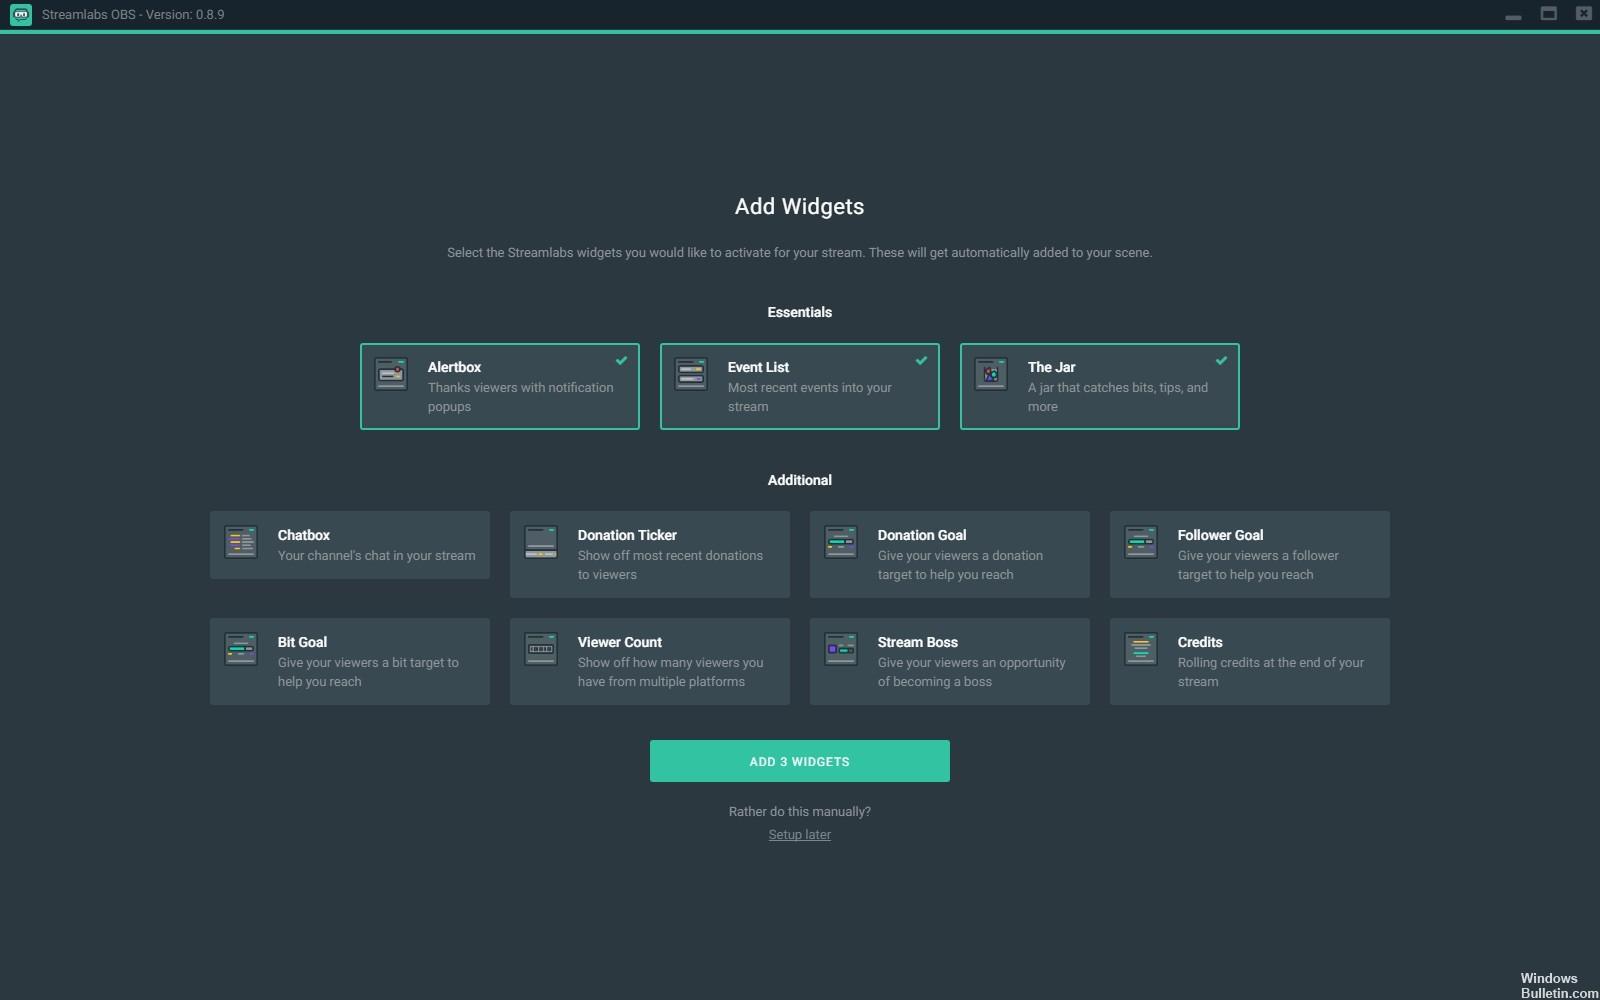
Configure the widgets
Already within the broadcasts, you may want to add some things like alert notifications. These can be that someone donated money, a chatbox, the donation goal, the subscriber goal, a viewer count, or a survey, for example. All of this can be added as widgets.
- Click the dashboard icon in the sidebar. This will open the Streamlabs dashboard in your browser.
- Now select the All Widgets in the sidebar.
- Here you can find all supported widgets.
- Select the widget you want to add and configure it. There they will provide you with a widget URL, copy it.
- To add the widget to the stream, add a source by clicking + sign, select Browser Source as the option, give it a name, and paste the URL.
This entire process will result in the widget being added to the stream, which will be viewable in the display tab. And indeed, you can adjust the layout by clicking on it.
Change the design of Streamlabs
As we have been telling you before, you should also know that within the application you can change the design without any problem. That is, if you want, you can change the layout of the editor and place the panels where you prefer. To edit the design, you have to follow a very simple process.
- Click the layout editor button that is represented by four squares.
- Here you can select from the 8 default layout styles.
- Simply, you will have to drag and drop the tabs to change their position in the design.
- Once this is done, you will have to click on the Save Changes button to apply the changes.
Start and stop streaming
Once all these previous steps have been carried out, launching the application is extremely simple.
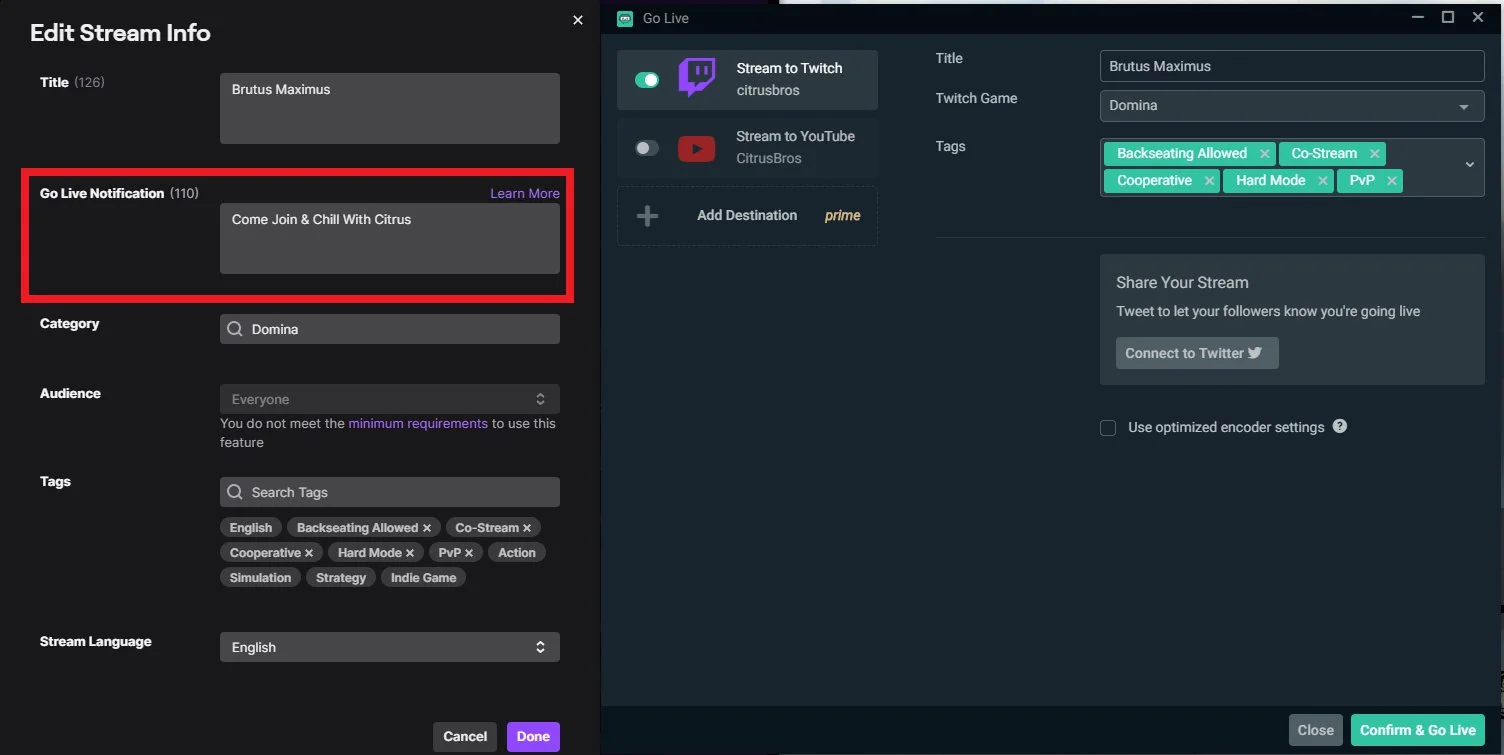
- First of all, click on the Go Live option at the bottom right.
- Now give your live stream a title, description, thumbnail, or whatever you want. These options will change depending on the service you are streaming.
- Once this is done, click on Confirm & Go Live. This will start the live stream on your connected account.
Also, in case you want to connect with other accounts, you will have to open the settings and then select Cast. Here you can connect with other accounts, but note that you can only stream one account at a time, unless you have a prime subscription, with which you can stream multiple accounts at the same time.


